


Mark
Admin
-
Joined
-
Last visited
Everything posted by Mark
-
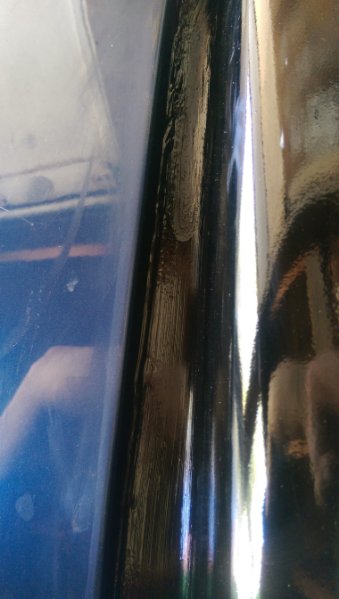
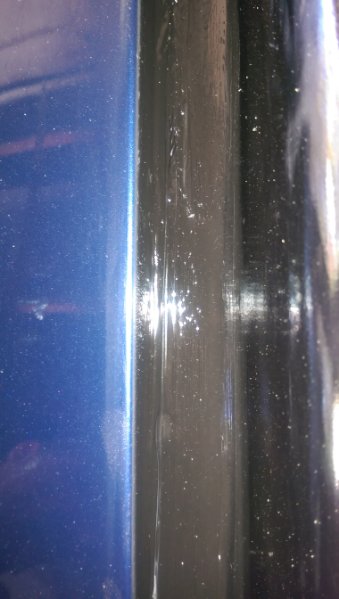
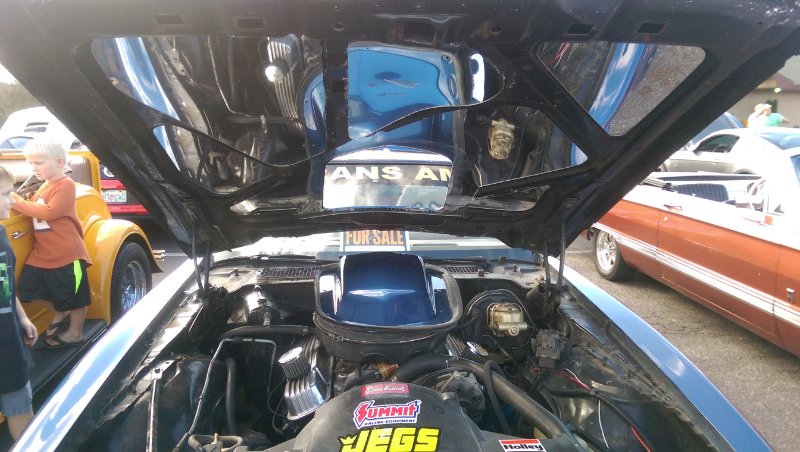
Then you notice down here at the bottom the mirrors look cut in and filled a lot better... also I trimmed the mirrors in painters tape all along the edge line and then I painted Jet Gloss black... all over the transition from hood to seal to part... shaker whatever...cross brace... then when I peeled the painters tape this left me with a preitine edge and all on the actual reflective surface of the mirrors by using the glas the lines are crisper and cleaner and the tape removal went like a snap...
-
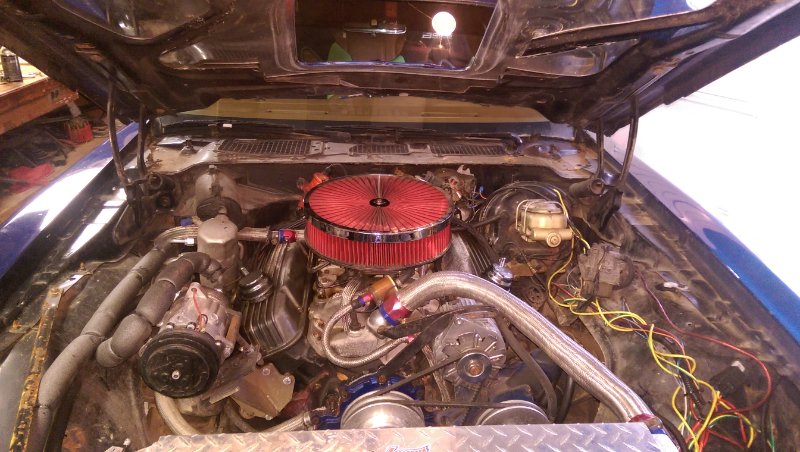
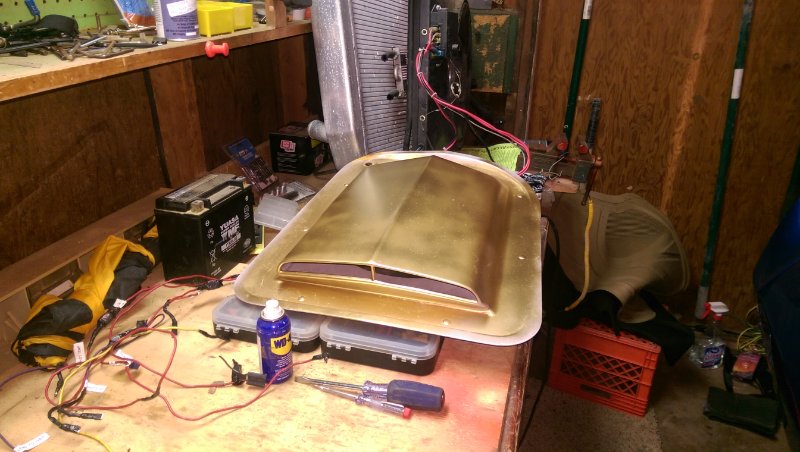
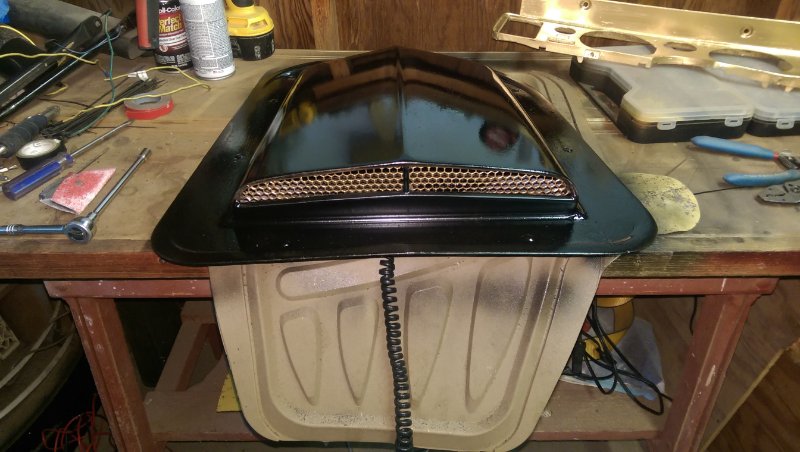
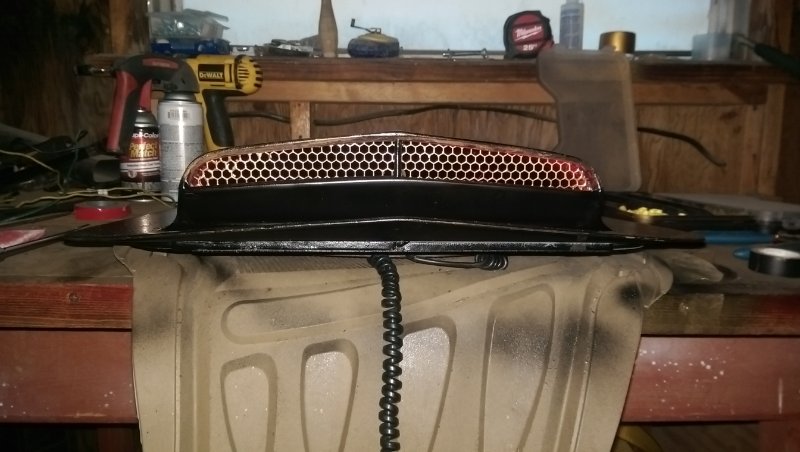
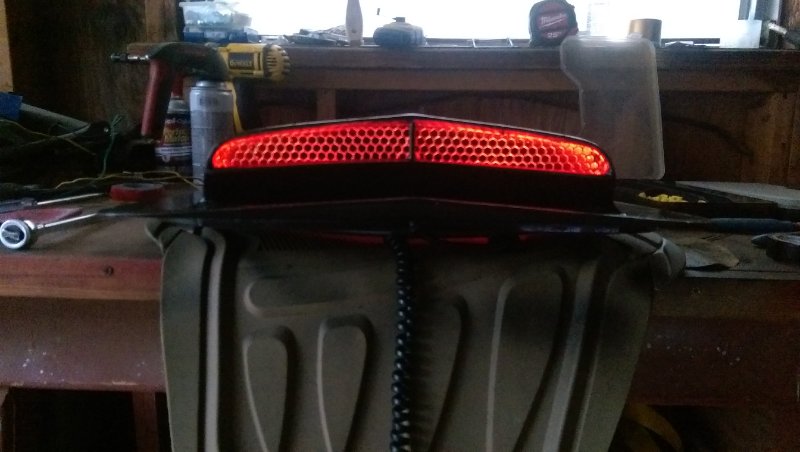
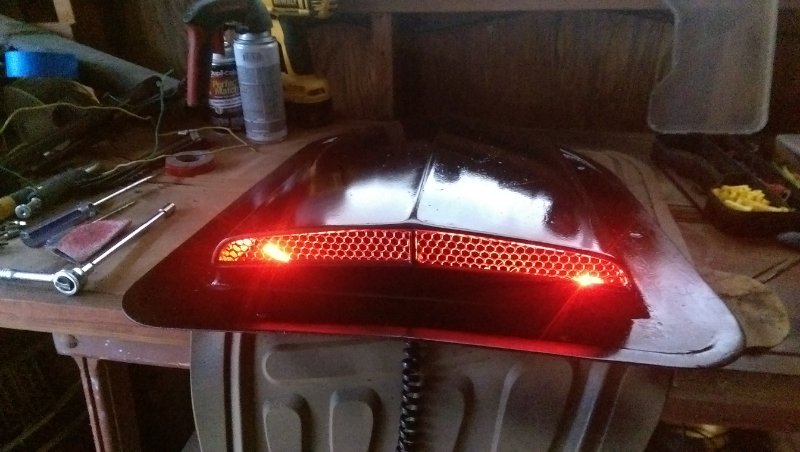
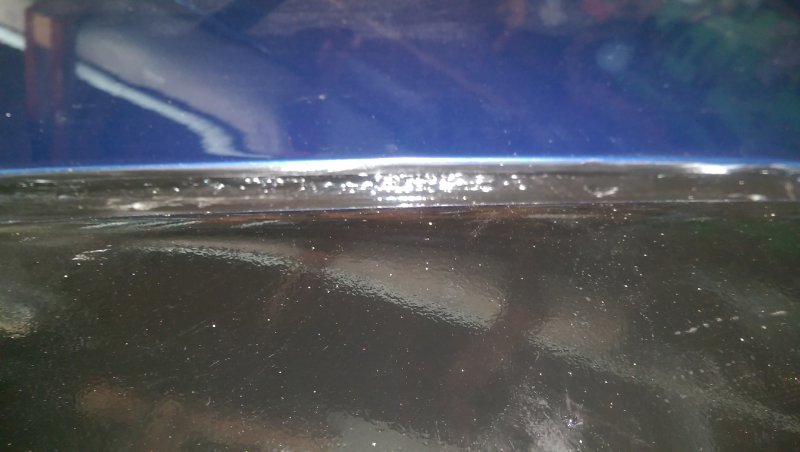
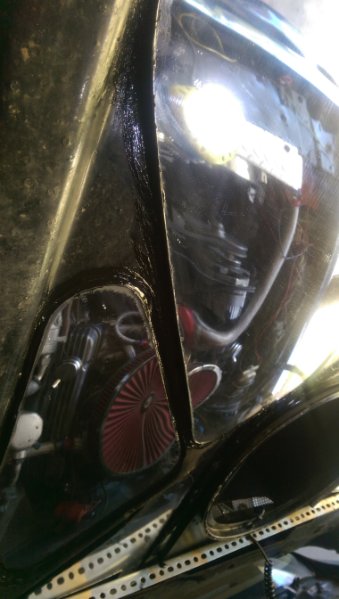
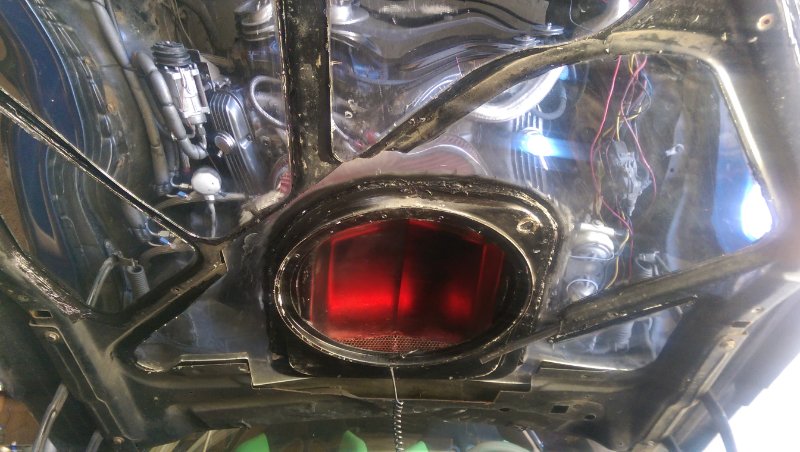
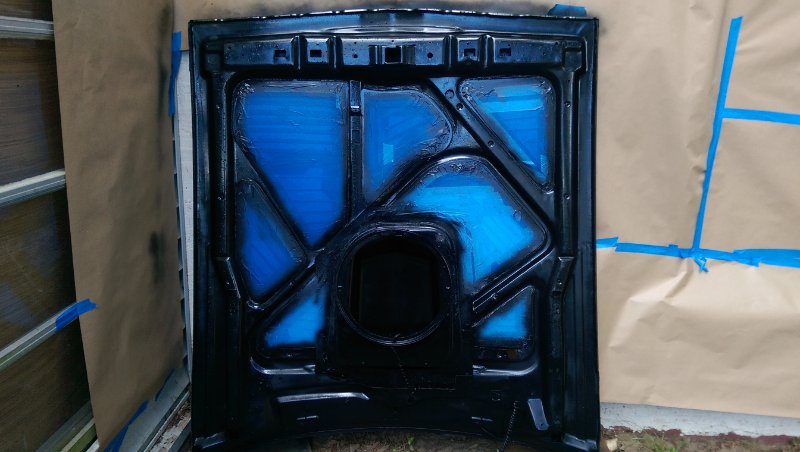
So here are a couple of tricks for the mirror hood installation... You can locate them Ill grab links in a minute for yall So you get your box and your ready... Wash your shit before you even start... And then clean it some more... Then when your ready you can wipe it and would eat peanut butter from that spot... grab the kit only instead of using the brown Liquid nails the guy sells in the kit... Grab some real Marine Grade Adhesive chalk and look at each mirror and exactly how its gonna fit...I would suggest taping them up in position all at least once to make sure they all look and fit proper... Now keeping this in mind... remember the reflectors are like a thick plexiglass with a bit of flex but so is distortion...in the bend...so the idea is to get them as flat and clean installed as possible this means you may have some gaps and voids and you also may not be professional at everything Like I am so if your not at installing Chalking and making really nice smooth lines and working with the shit... Then I suggesting paying attention...lol hehehehe Just seeing whos reading really... So anyhow kinda keep this in mind... I went ahead not knowing and used the shitty Liquid nails... and it drips brown poo look and its really messy and well it basically sucked... Before i did too much damage I ran and grabbed some really heavy duty Black marine grade silicone Sealant... and went at it... Then after I got it all secured and looking in the best location I later went back and filled in underneath where the gaps and voids were so I could get a nice shiny and smooth blend in I also added the Shaker to the hood Just sick of messing with it... Well hell I found these pics and I can explain...LOL So since the 79 and 77 shaker are different as you can see the 77 sat thinner and lower but since it will be mounted to the hood anyway a sleeker look to me will be nice also the engine still fits the hood the same... The air filter now a full air flow draws from all sides including the top itself... So I switched shakers painted it then decided I didnt like the gold and the clear coats keep messing up the paint would look cracked so I said screw it went black and mounted it with electronics for the installed shaker back light then sealed it to the hood... if you notice you see the brown liquid nails and a void gap like I was attenmpting to explain... first pic below here...
-
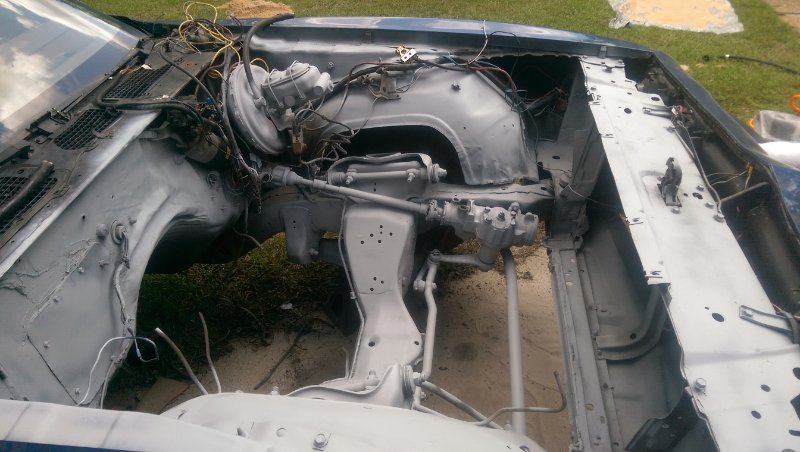
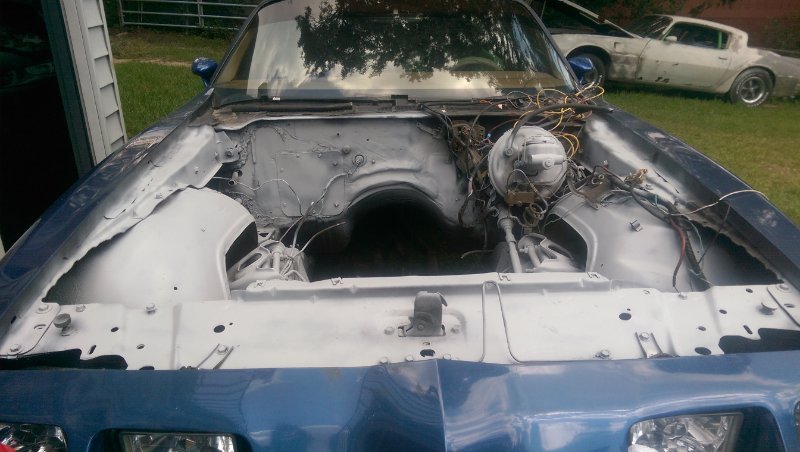
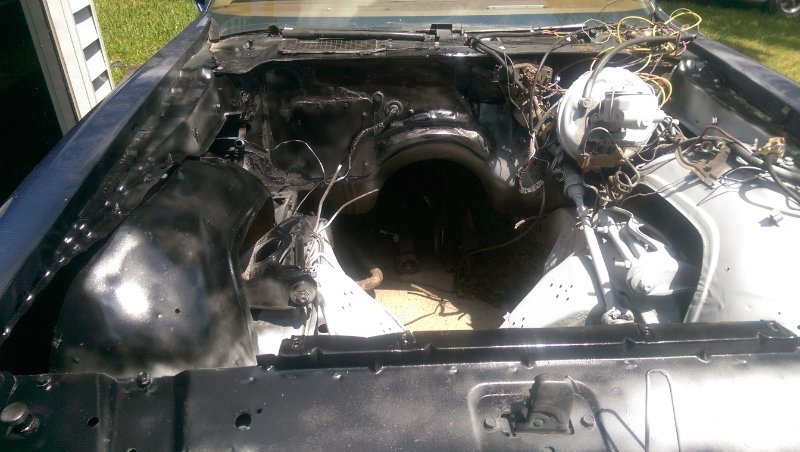
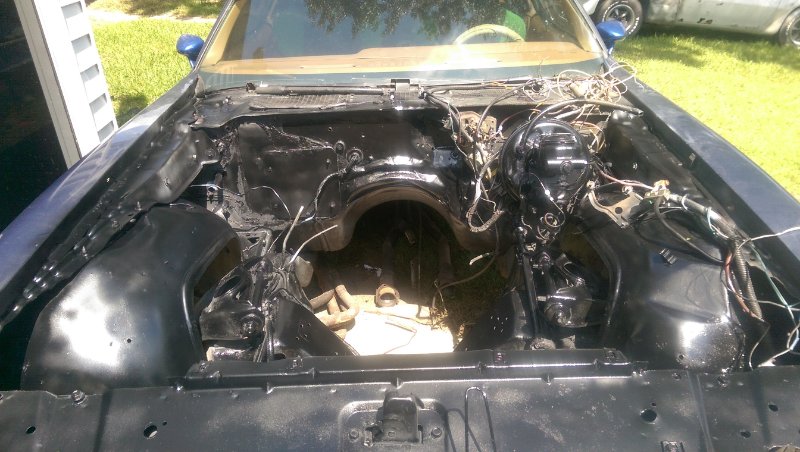
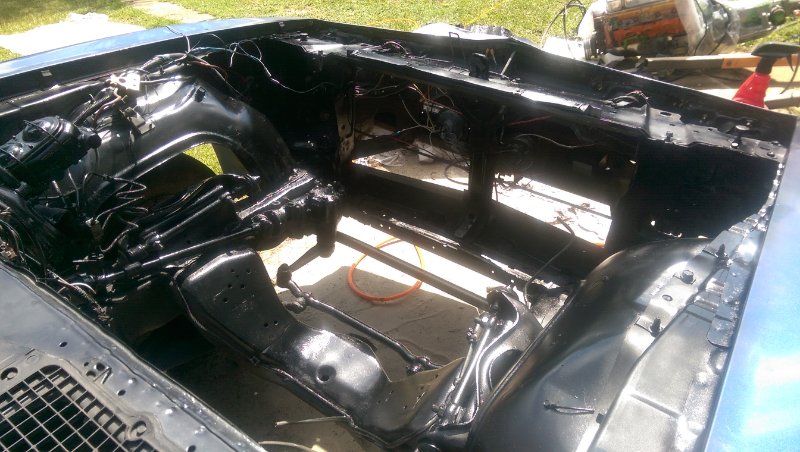
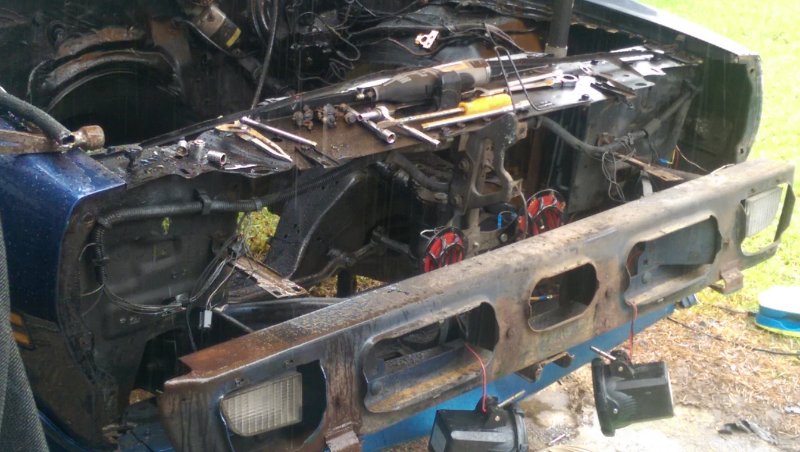
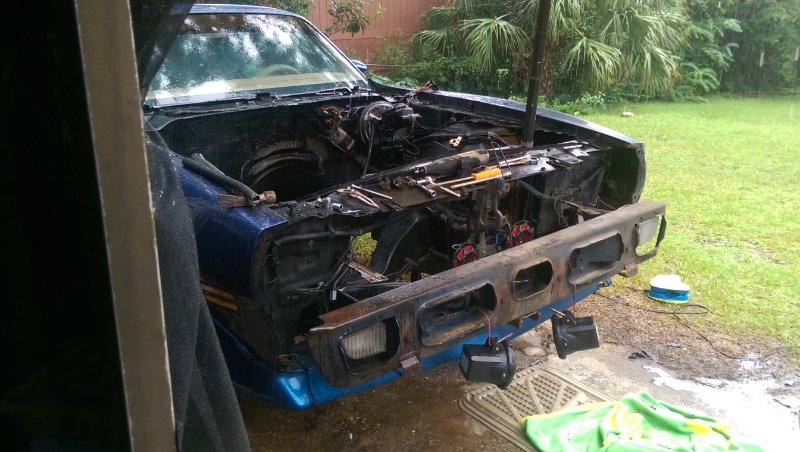
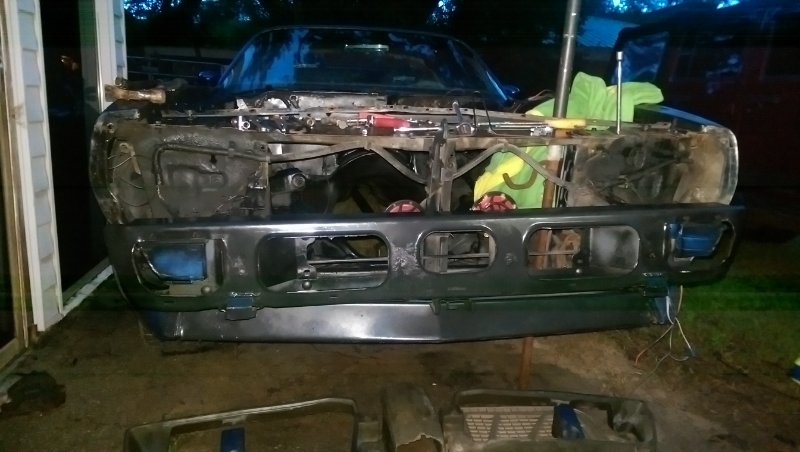
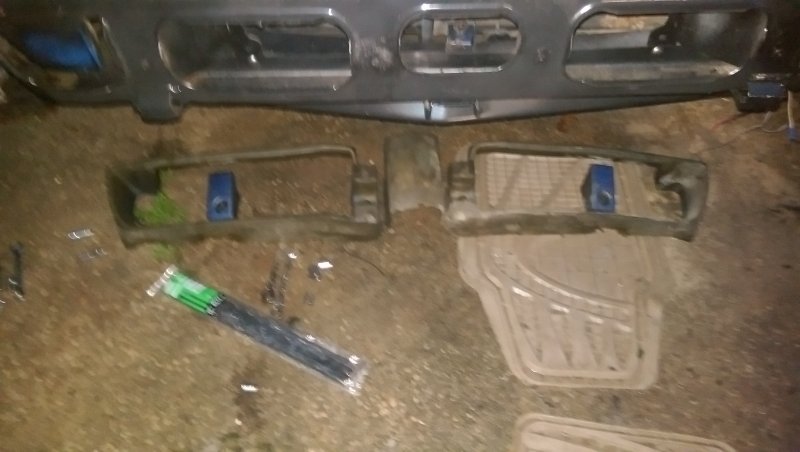
Ok so The Whole Mirrored hood well we think of World of wheels and Show cars But to be honest I like them on just about any damn thing kinda like tinted windows a good friend of mine back in High School... Gary Burns...said man go out to the junk yard... Look at all the cars then imagine them with tinted Limo windows... They all even that shitty one on blocks will look better so the value is increased... Makes sense to me... Mirrors looks cool if you do them right they can add a touch of class or if half ass done they can look hideous and way overboard and outta place... First Try to have something worth reflecting... We dont lounge in front of big glass windows looking at ourselves do we... So think even a really clean stock engine when maintained is a nice reflection... And while we are at it Ill cover a couple things all kinda related to engine pulling your hood is off you may as well take the nose off and do headlights or whatever you feel the need to get done while everything else is out of your way... Also adding Driving Aux lights Underglows or rock lights... Sand Blast the engine bay and paint again with like 12 cans of rattle Black gloss... lol Dont forget to re install the rubber section for the nose support Like I did once...
-
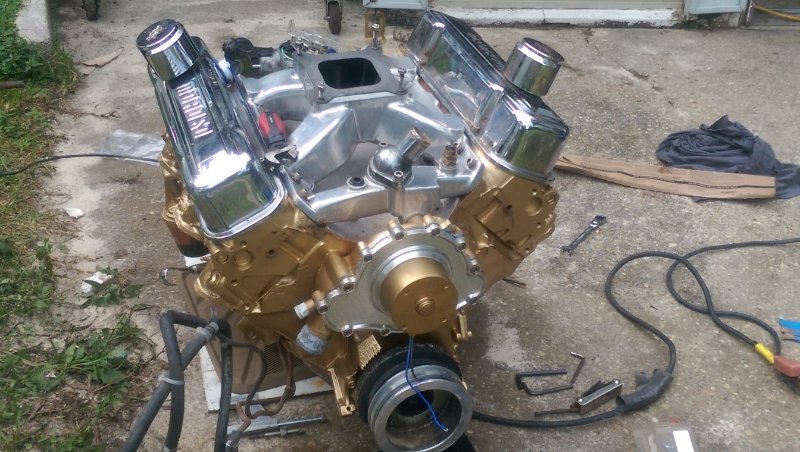
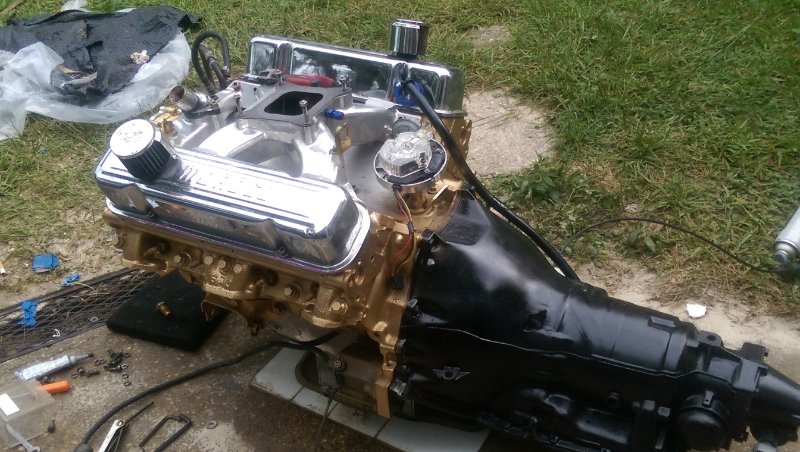
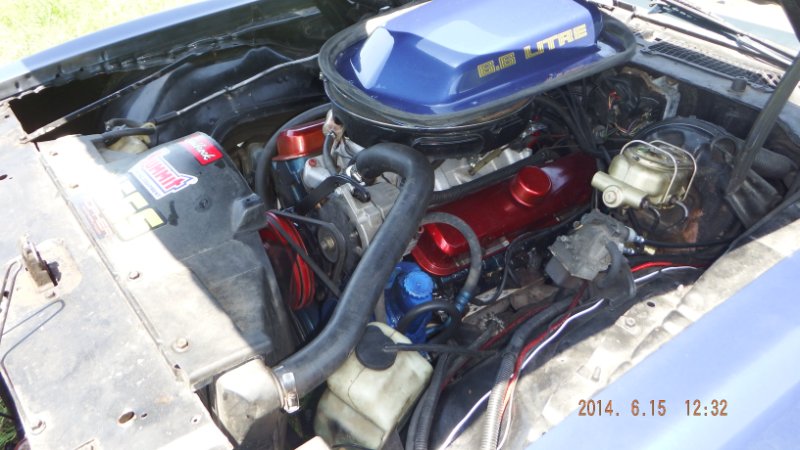
That engine was built by a Marine Shop for high speed boats in Miami Florida and has had approx 8800 done to it, punched a 400 to 469 CI Not the best block either for it but holding up surprisingly with 550 ft lbs of torque out the rear... and 518 Horsepower as she sits... If I add EFI and Brain I gain instantly 100 more Horsepower... Then I plan on adding a Tremic TKO 600 Manual six speed with Overdrive... running these 2:73 gears... I really want to drop even lower to a 2;21 or so... this car will clock at 160 in the configuration I have now minus the transmission... 🙂
-
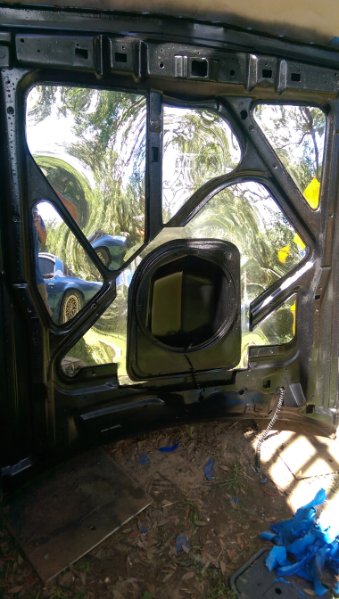
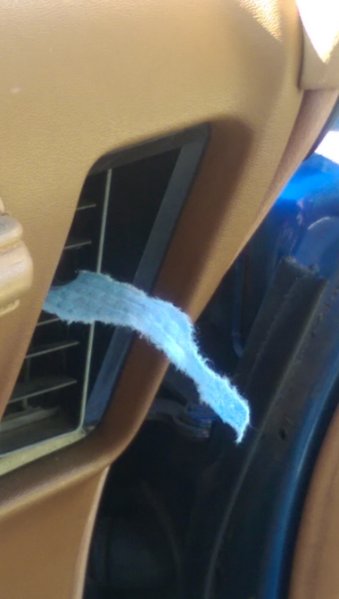
This is where I say look at the passenger Firewall notice anything different? Like the Heater core duct and AC are walled over... I personally dont even care about AC or Heat at this junction I drive jeeps so I am good and I also grew up sweating in these beast... and also cruising at 120 up the highway at 3 am with Tees out also... some trade offs are just fine...
-
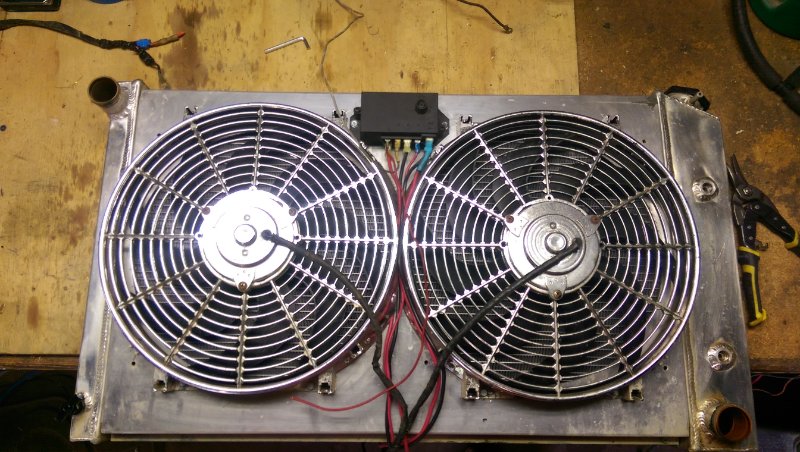
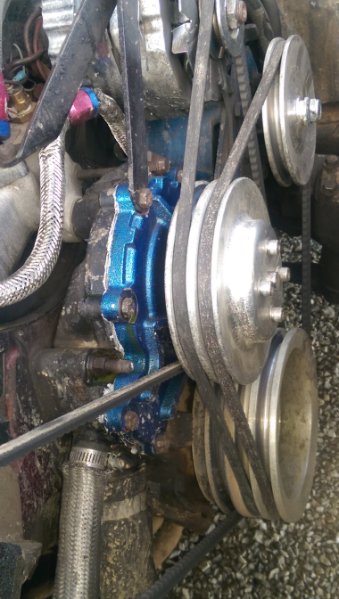
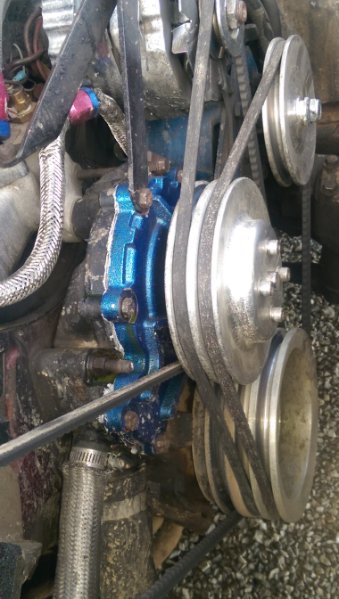
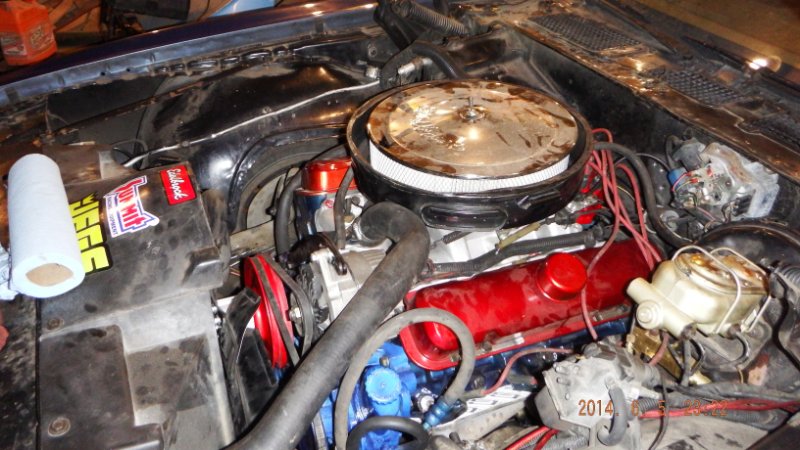
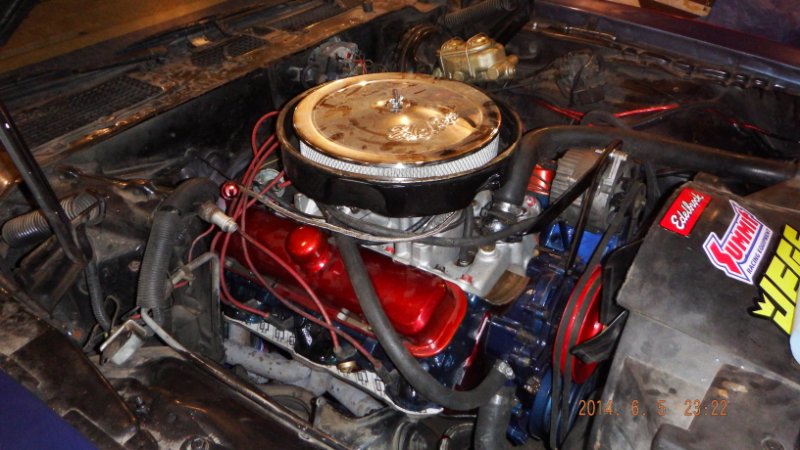
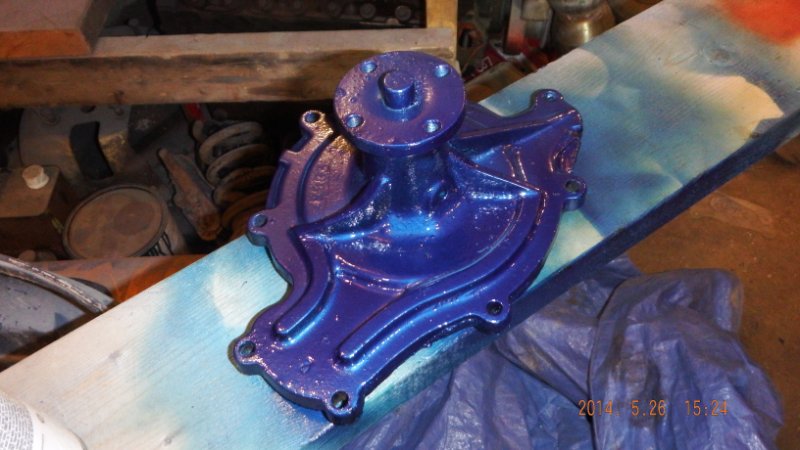
It will only be pushing the power-steering pump and the Alternator... Everything else is electric controlled... Also all the head lights have been converted to LED and (the Spots are still Quartz Halogen) Hot... but the Water pump is now electric and the fans also are now electric and have a controller...
-
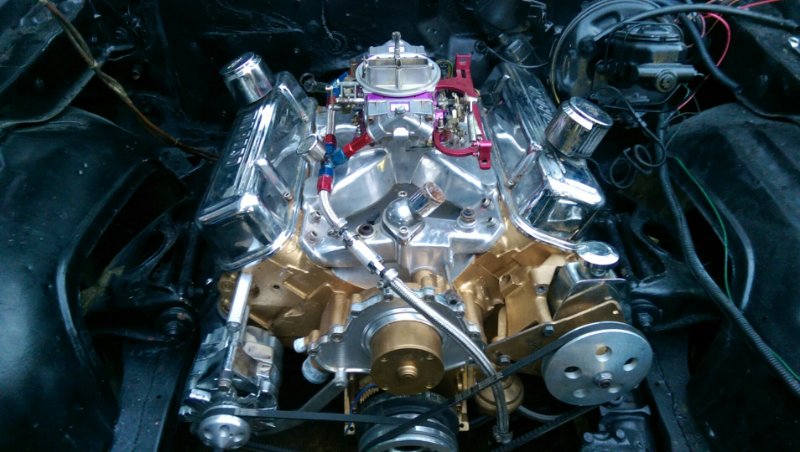
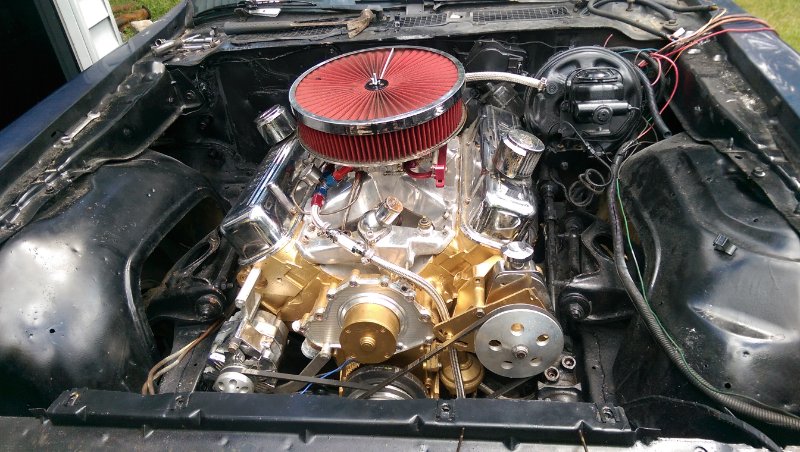
Yanking that one out... to put this one in...
-
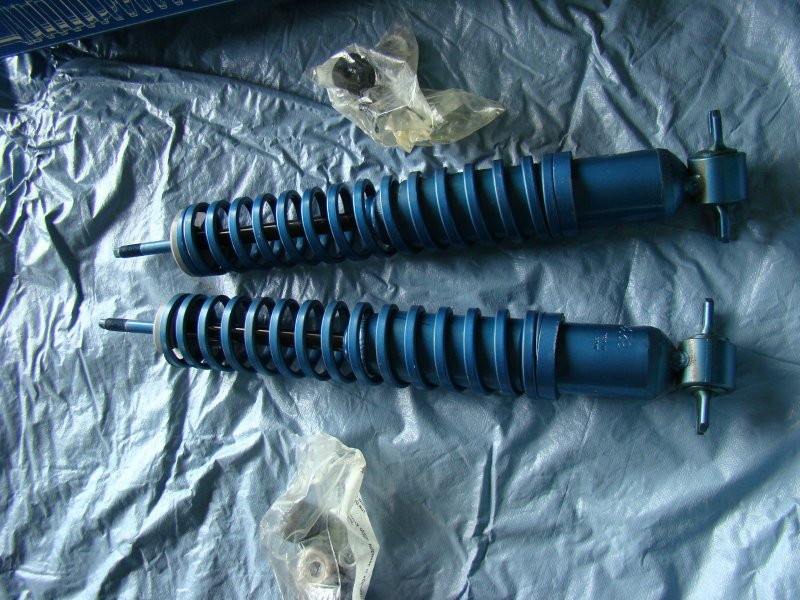
Now take that pretty wrap and shove it in here... I also added the shocks... Clear Distributor Cap...
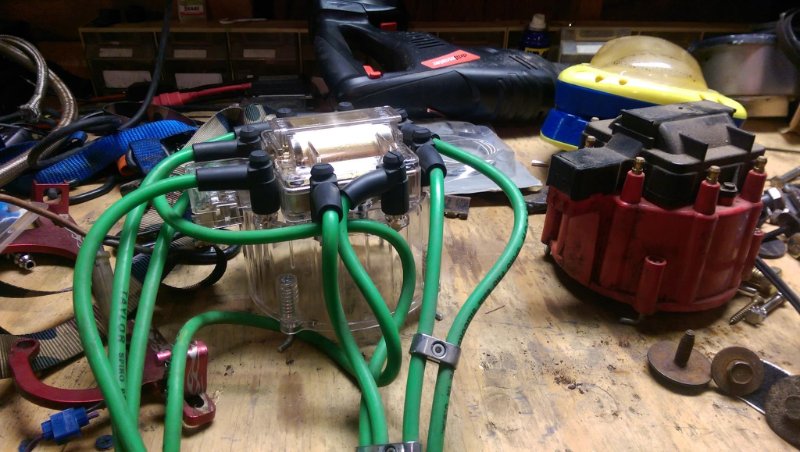
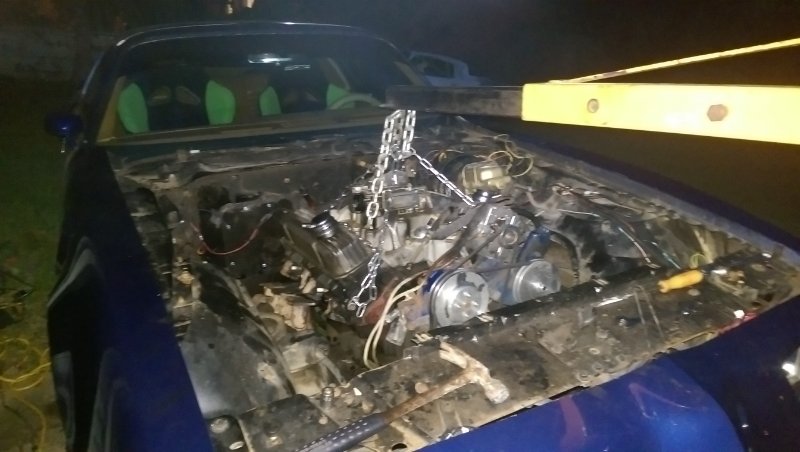
-
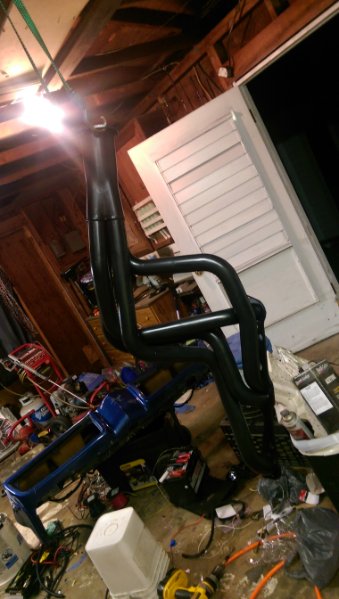
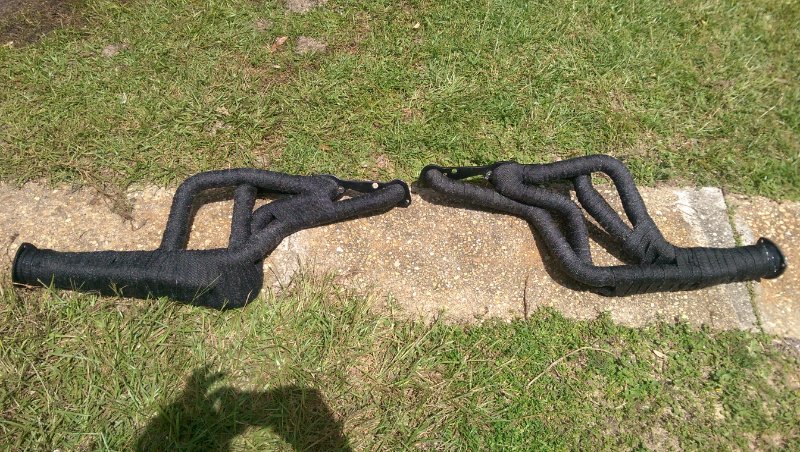
But first... Ever wanted to get better Burn from your fuel and more efficiency from your engine? Me to thats why I support Holley 850s and up... 🙂 Ok seriously... Dont ever wrap a set of headers yourself (Unless you work for NASA and have access to an EVA Suit because that shit gets everywhere... I itched for five days... Got kicked out of bed twice and had to change and do laundry twice... So dont even wrap your own to gain what you get from the added insulation for detonation precision... because well its not worth it... 🙂 Also headers...No more just run manifolds I watched as race car drivers were running manifolds and I was running Headers and I said how come you guys dont run headers they all laughed and said what a useless waste of time and energy for nothing... You may not even be able to tell it at all... Im thinking at 7000 rpms everything matters to a big block... 🙂 anyhow so I did it never to do again... And bolt up of the two headers takes me about 3 hrs... 🙂
-
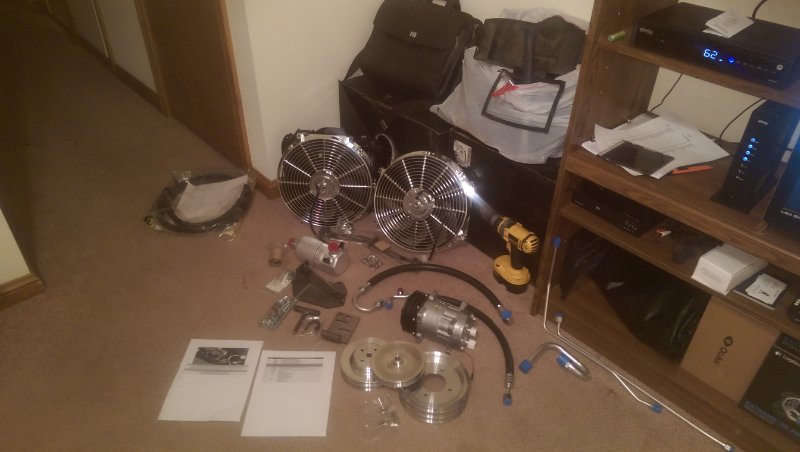
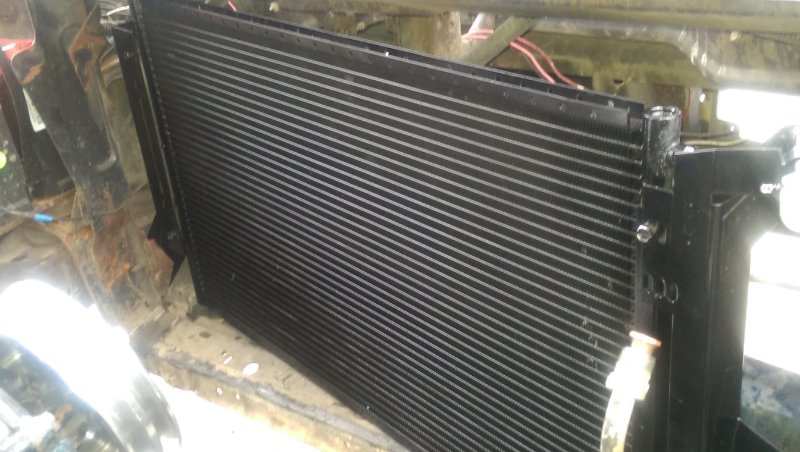
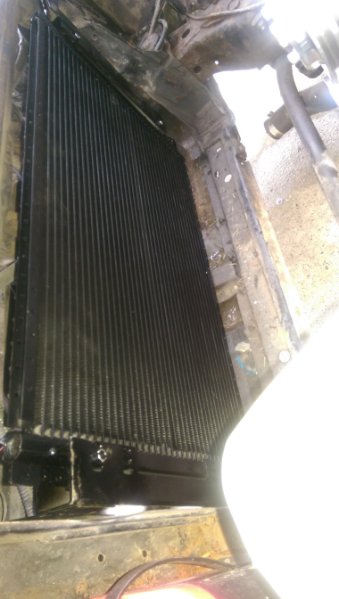
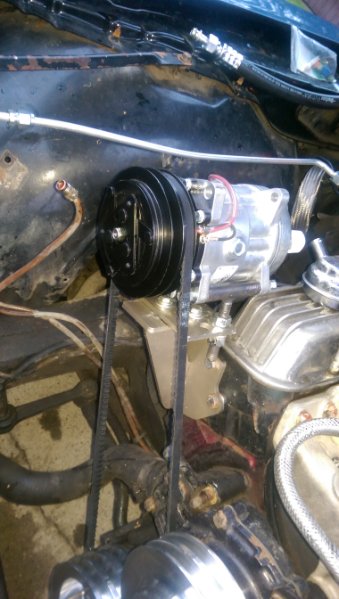
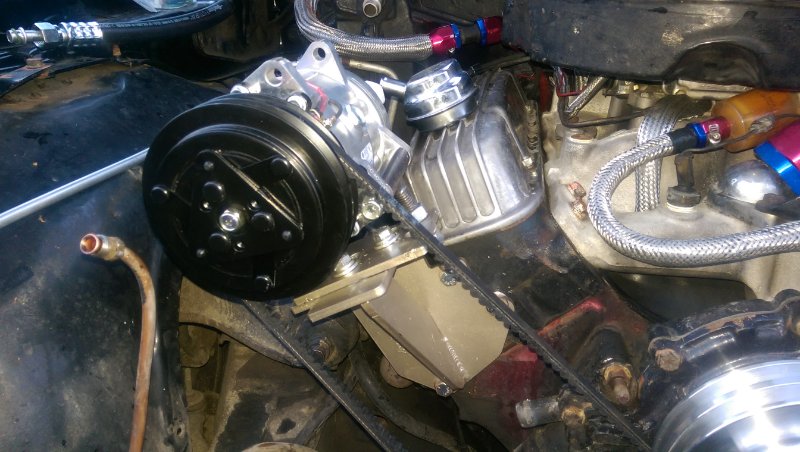
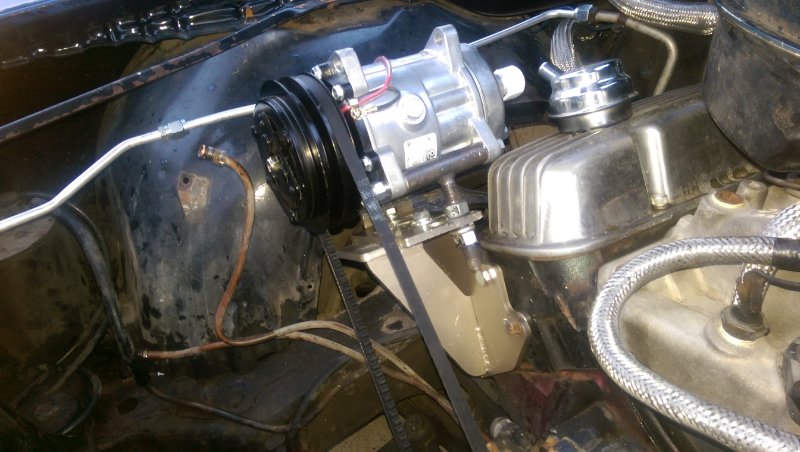
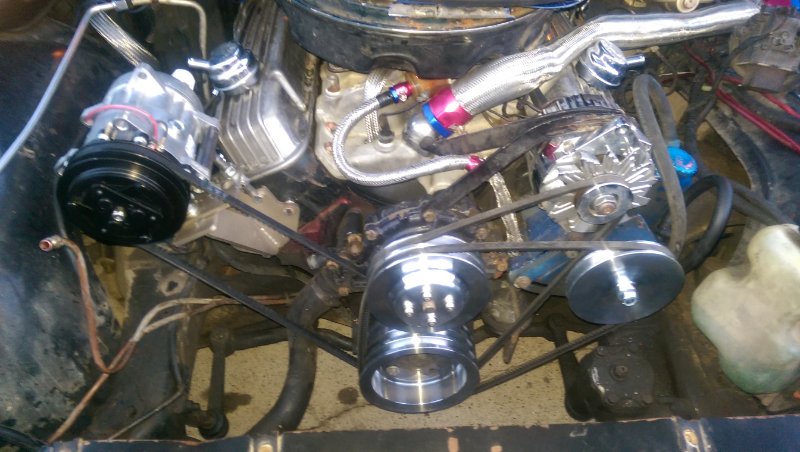
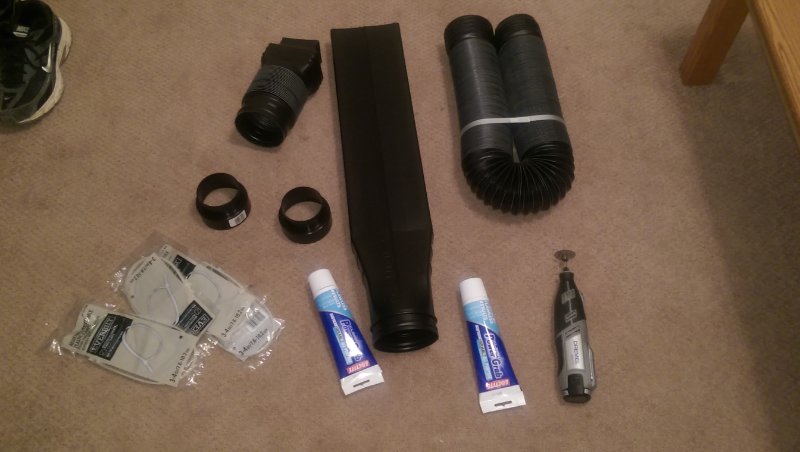
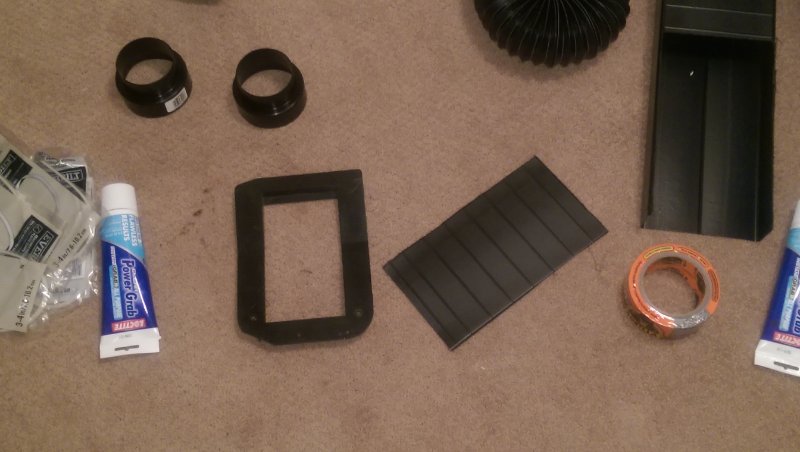
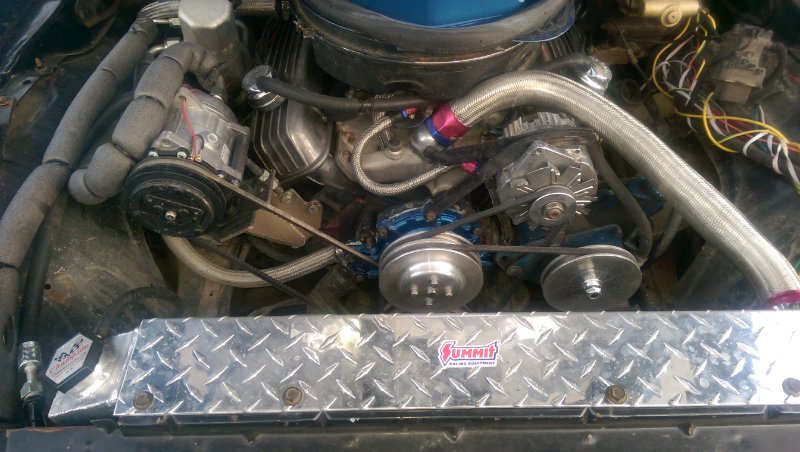
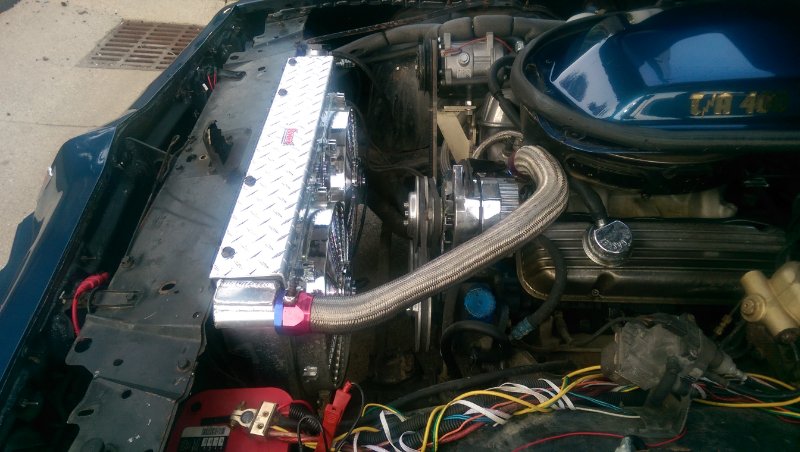
First Fan Shroud sold from American Radiator for Trans am this model with dual electric fan cutouts I had to cut the fans down so make them fit... Screw it I also installed the after market AC pump didnt quite work for me as well so I ripped it all out so I could change things a bit later... Ill show you what happened... Ok I still have quite a ways to go on the TA...
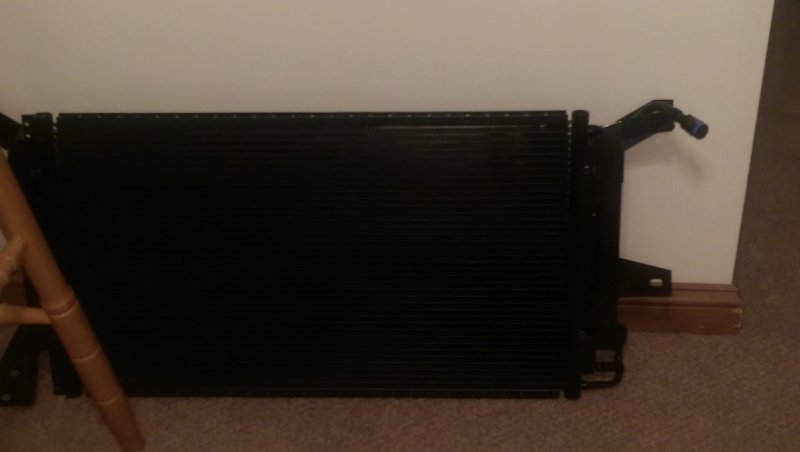
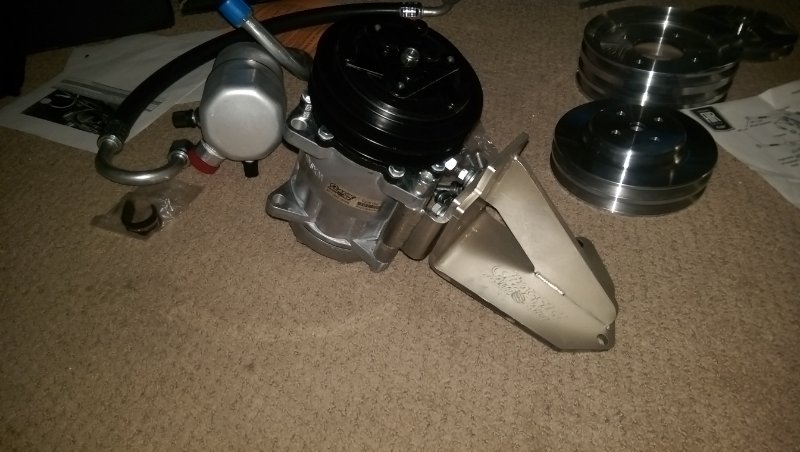
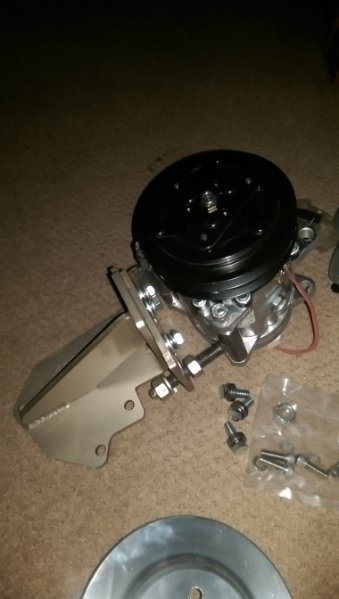
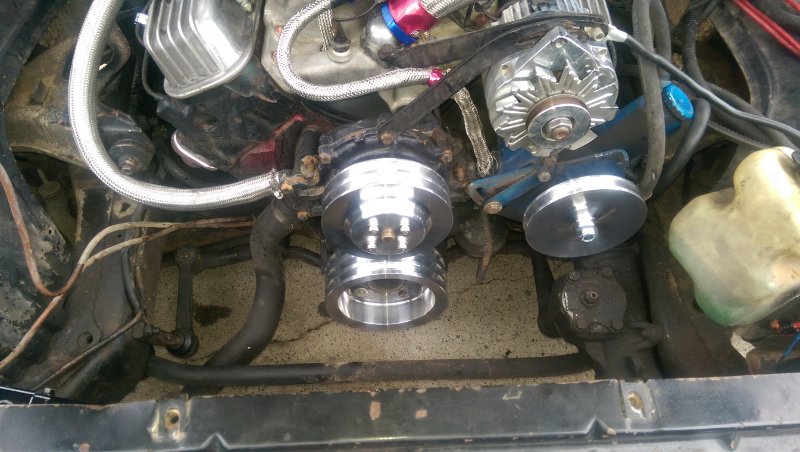
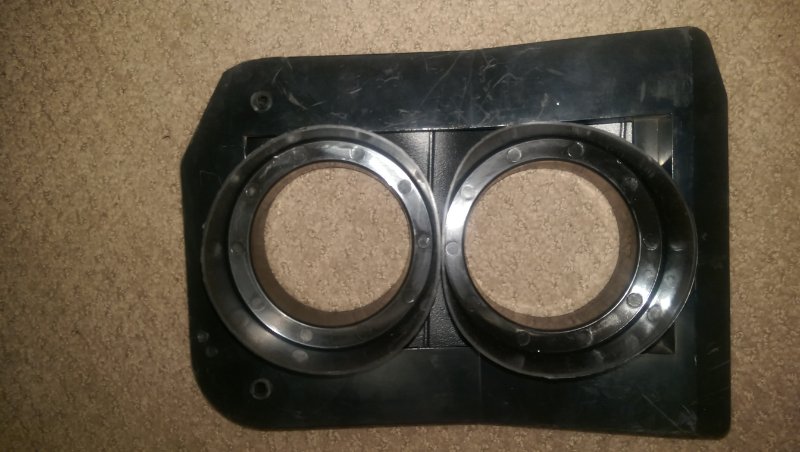
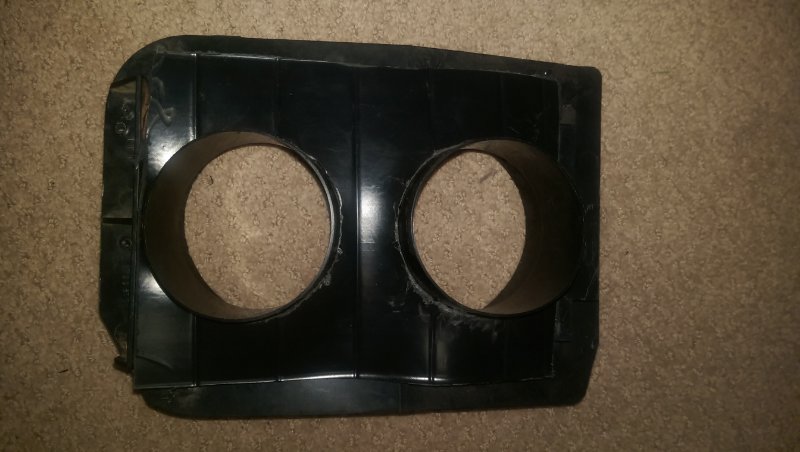
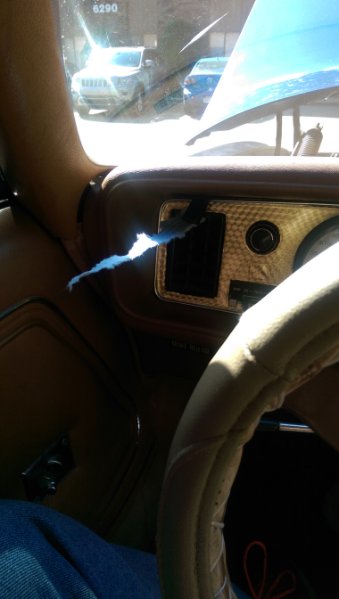
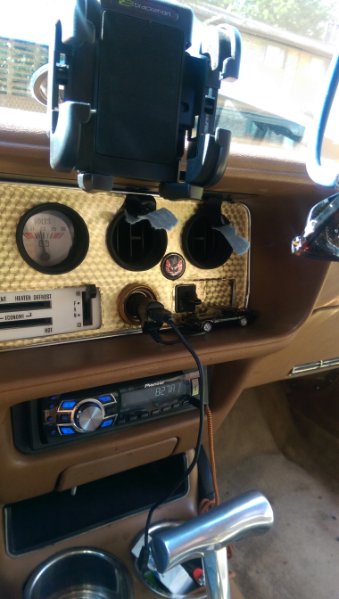
-
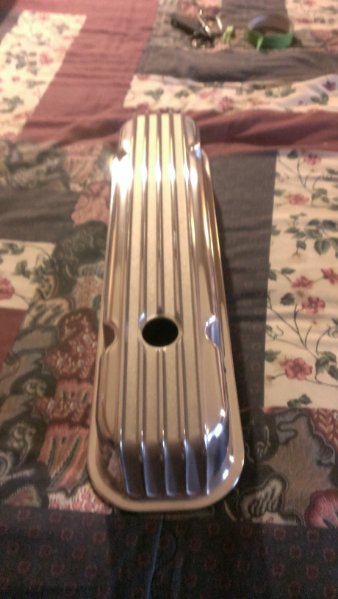
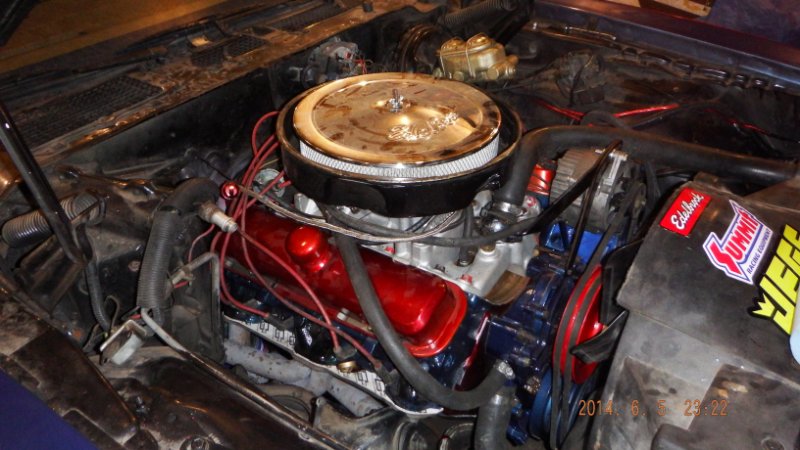
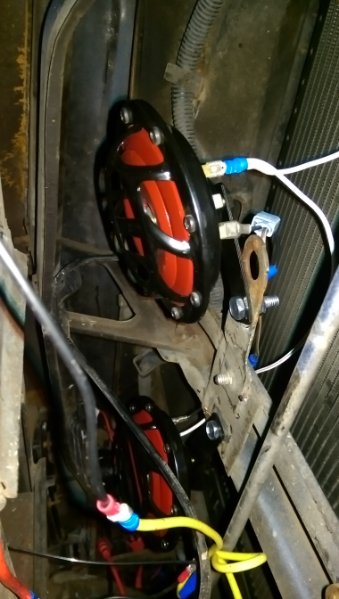
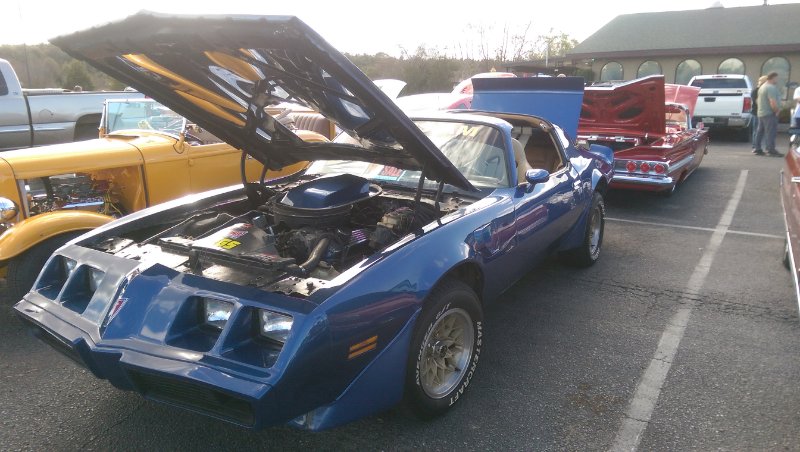
So I dressed it up a tad... added a better horn ... and installed some alumn brushed pullys... Added the mirrored hood... and stuff like that... 4 x 1" Brushed Alum Dimond plate like 40 bucks...
-
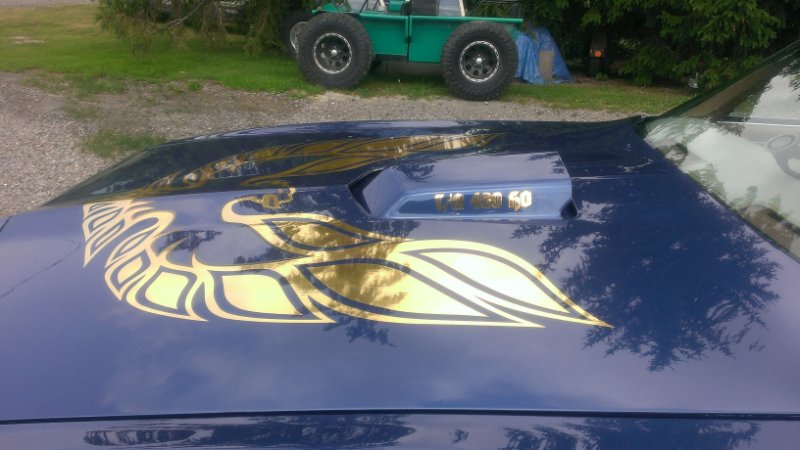
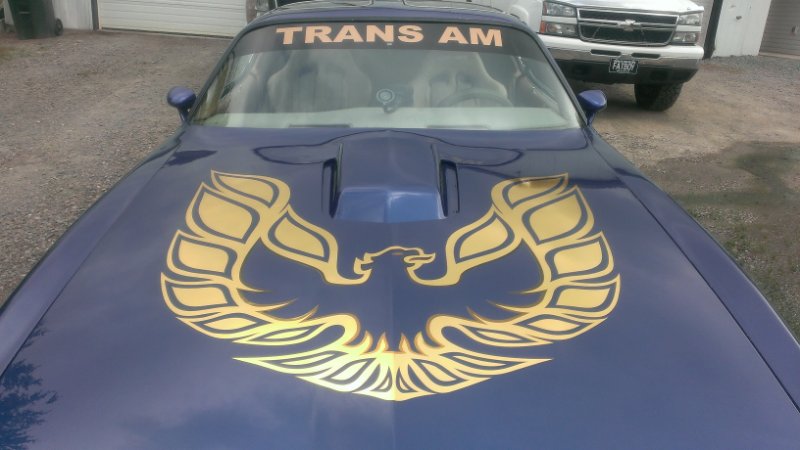
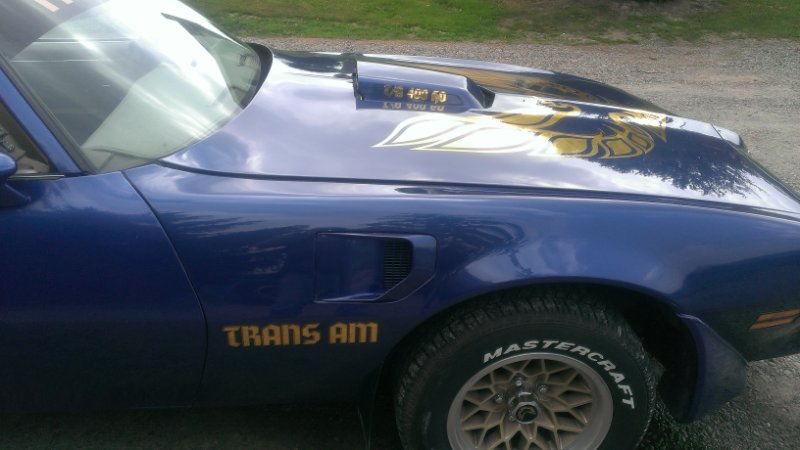
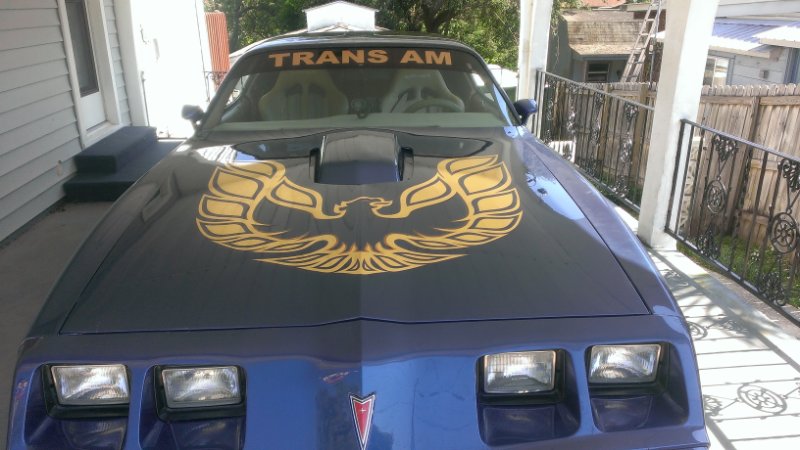
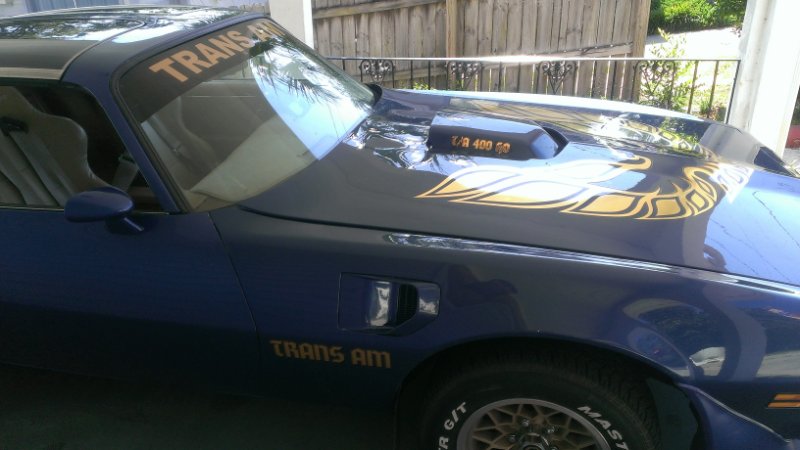
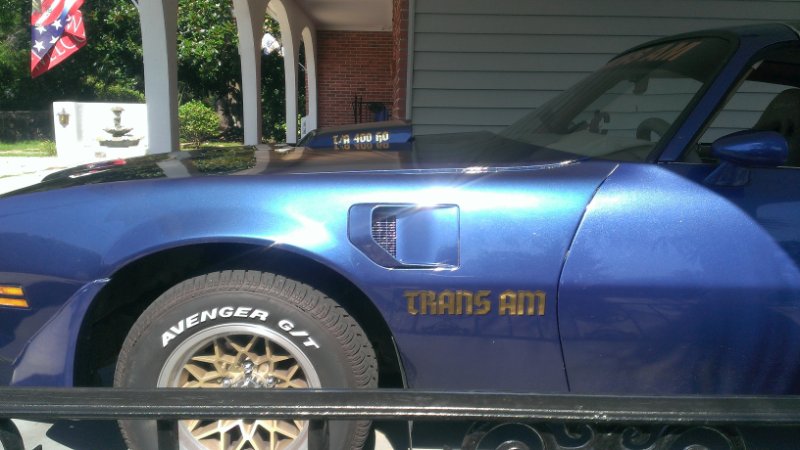
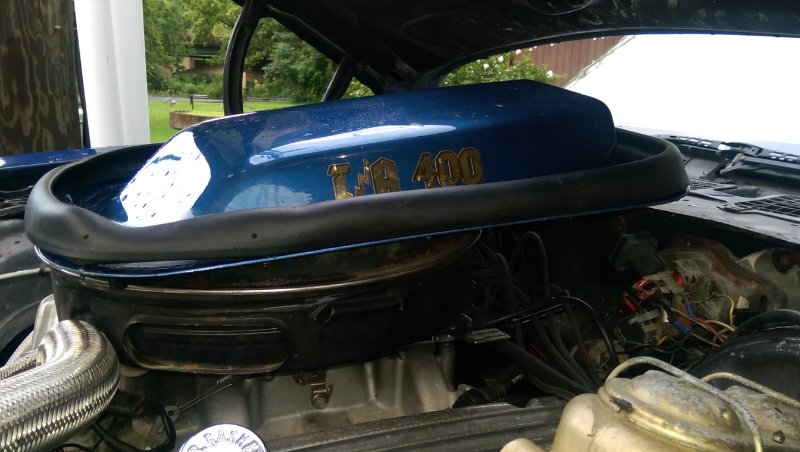
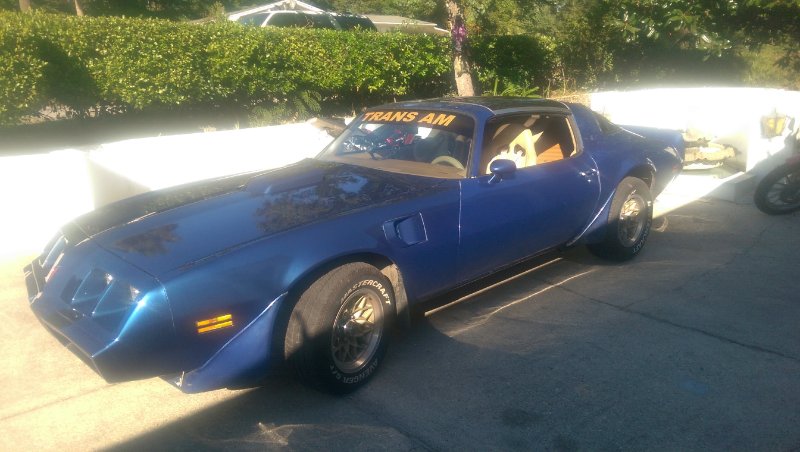
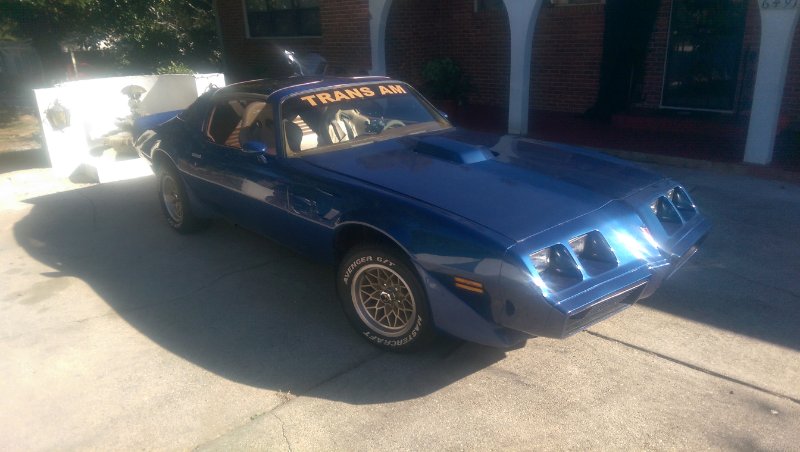
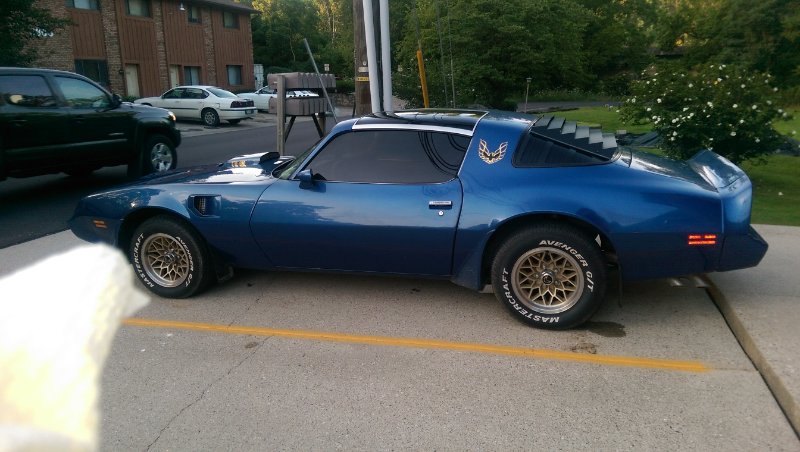
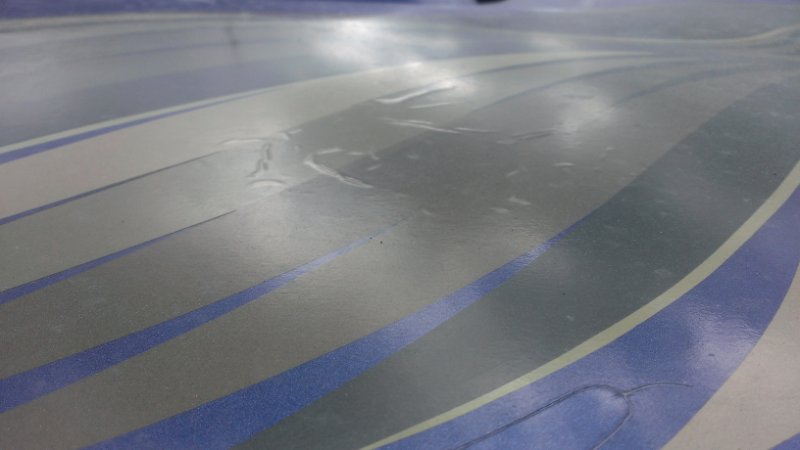
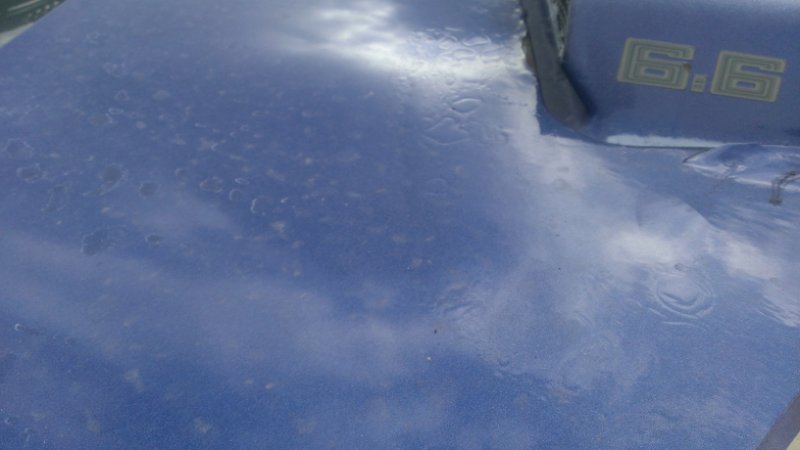
If you look close you can see the letters peeling back from the wind this was three days after paint and a 1200 mile ride... So I peeled the stickers off and went with none... The end of this one for now...
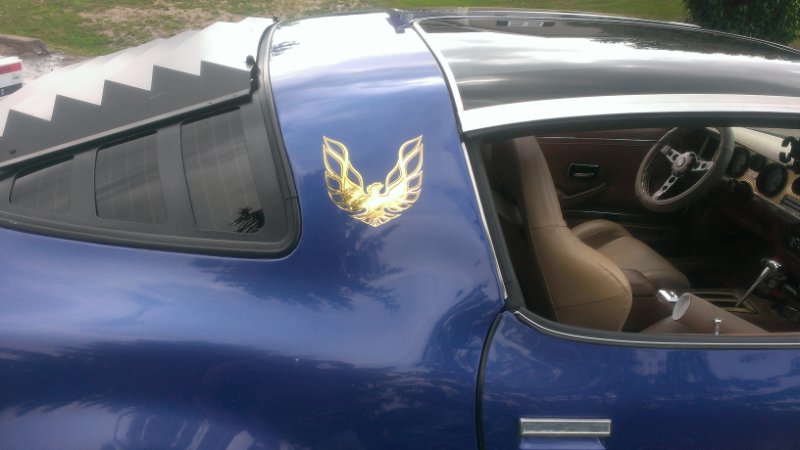
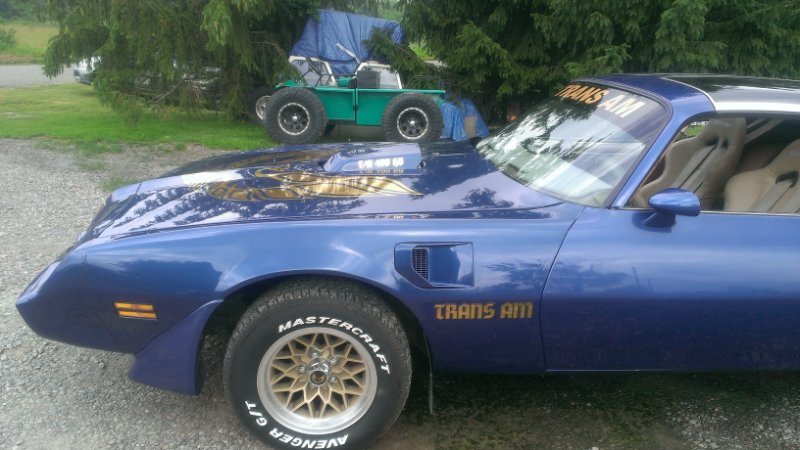
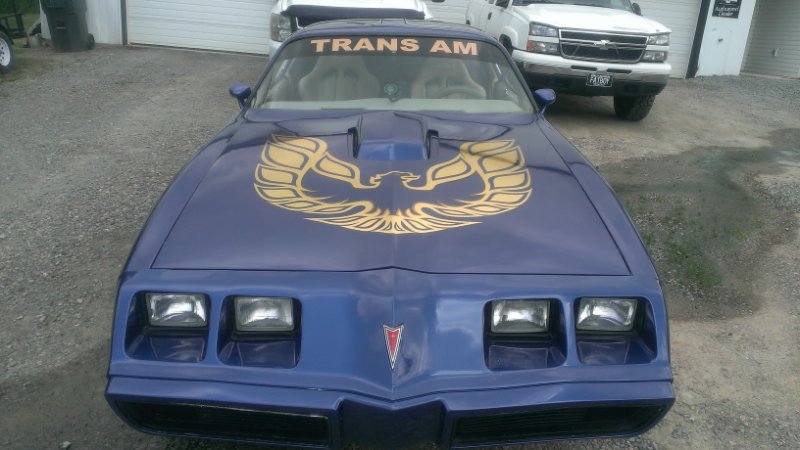
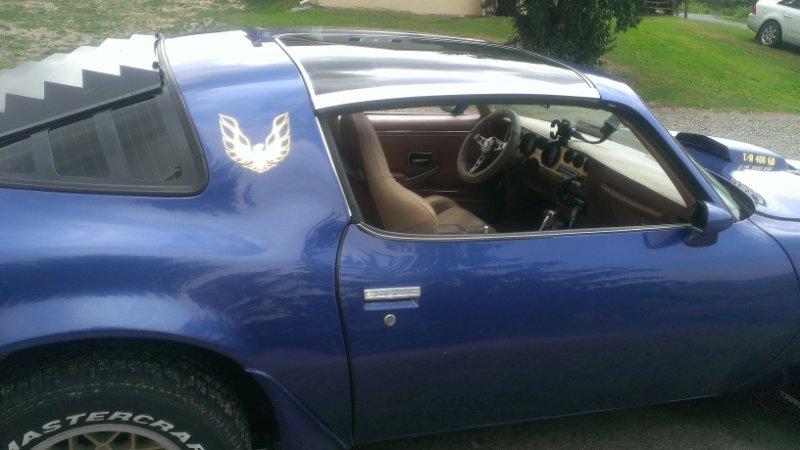
-
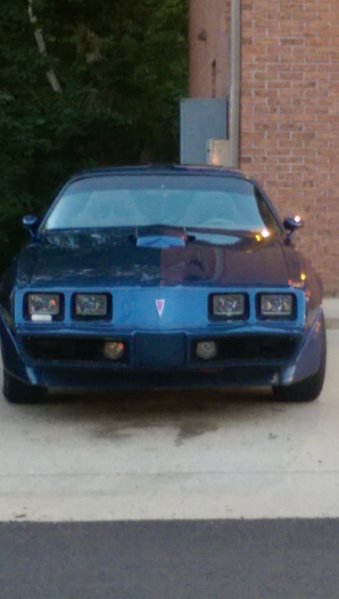
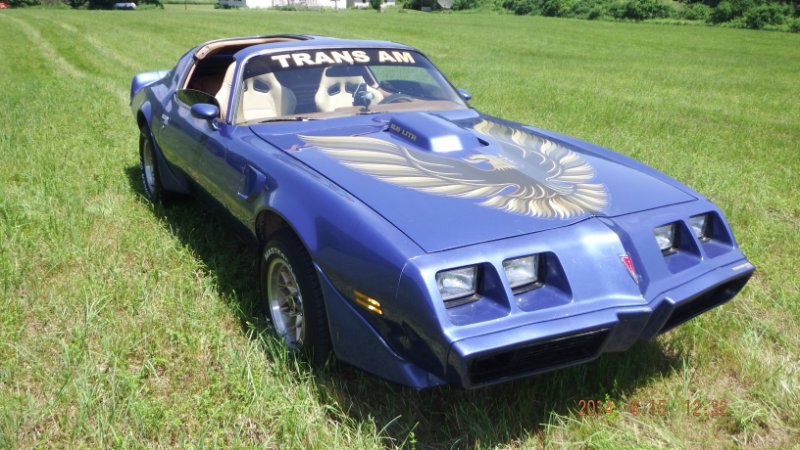
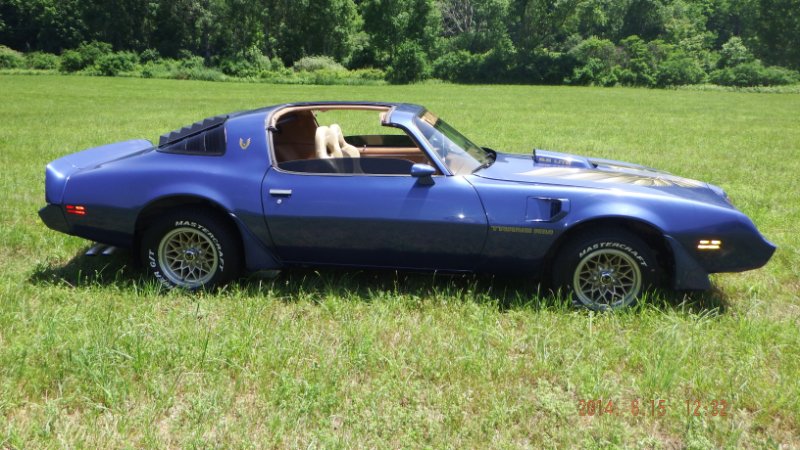
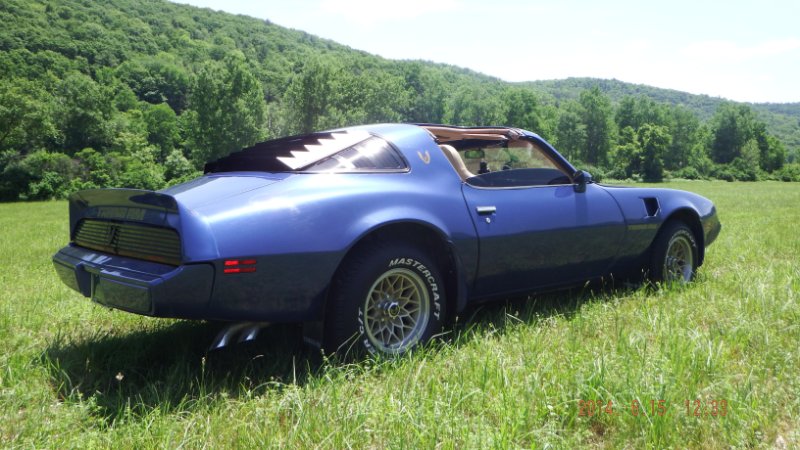
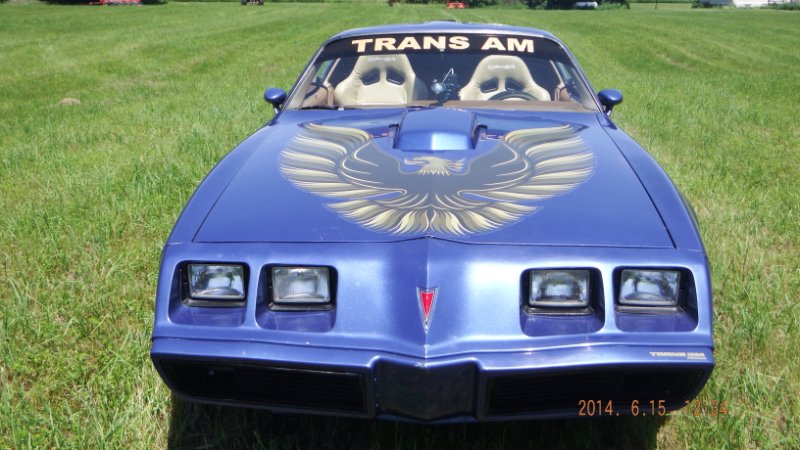
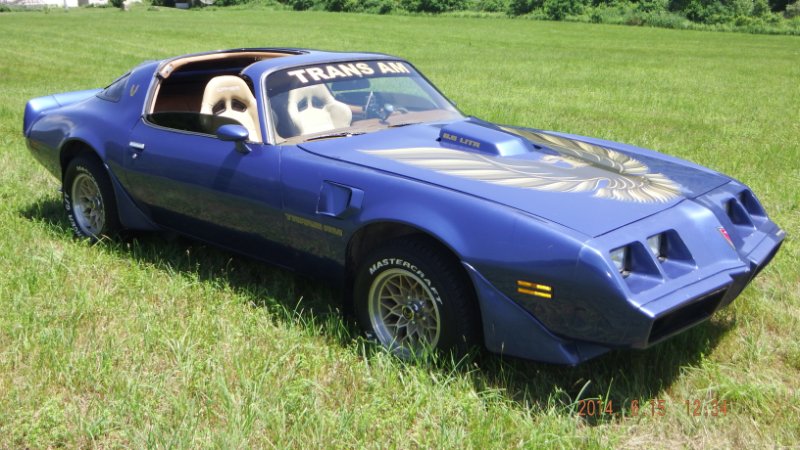
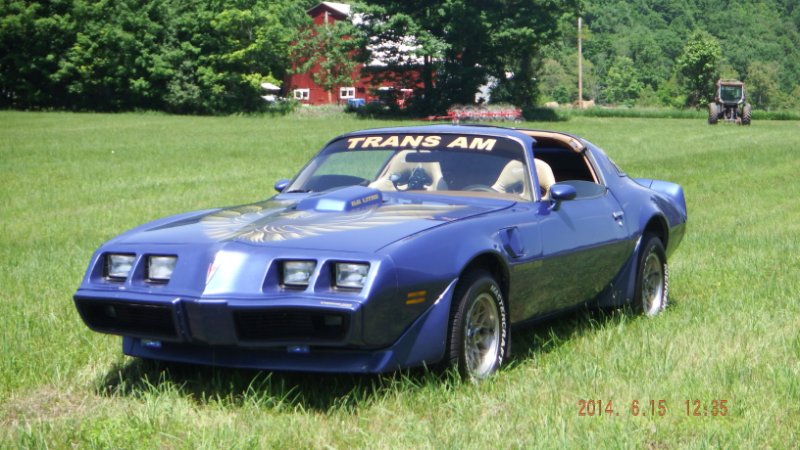
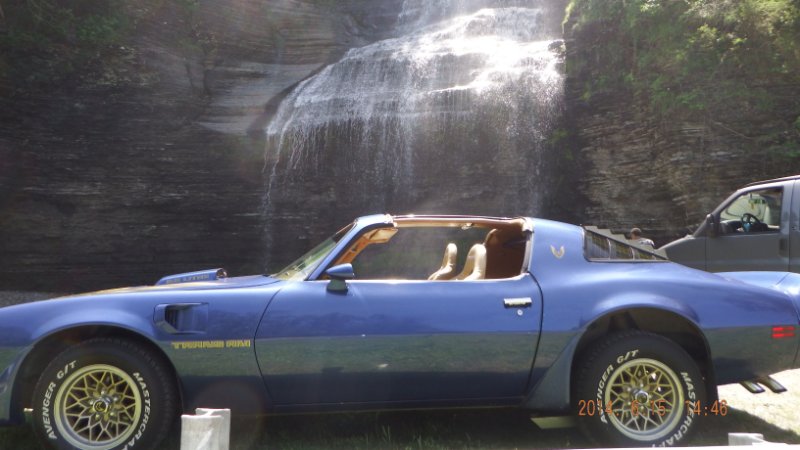
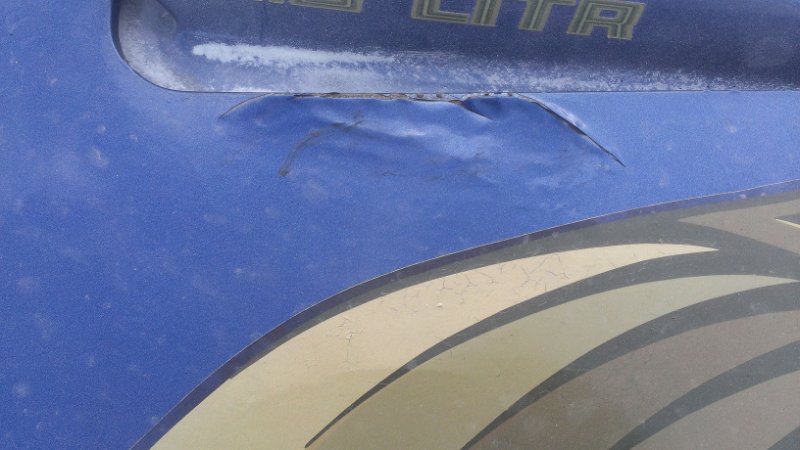
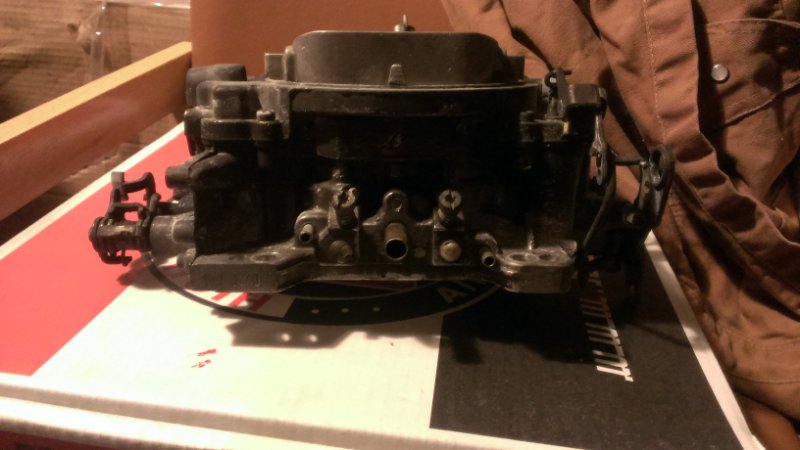
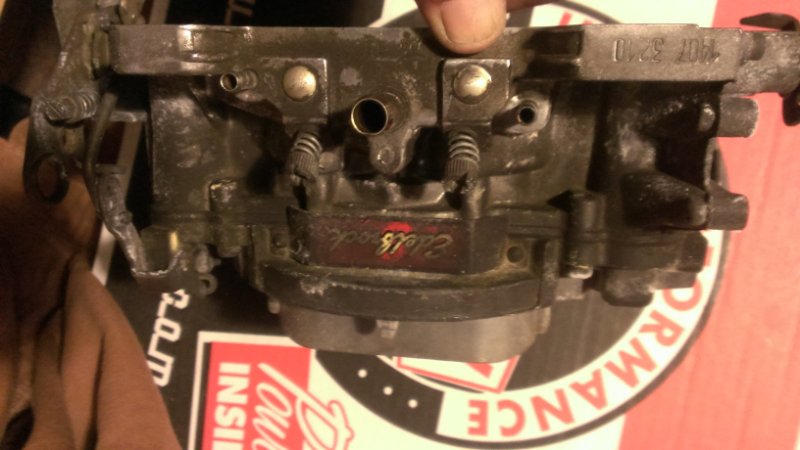
Those were all from the weekend before the fire... USAA rep tried to claim the car totaled and I said I would drop them and pull my claim if they demanded it totaled... I said Ill fix it myself no way You total a 1979 TA for some paint and a couple wires... Then I went back on Edlebrock also and they wanted to fight until I said fine my USAA wouldnt cover one part because they deemed it the reason for the fire and its the carb you sold me so I want a refund and Ill ship it back to you do whatever you want I want a Holley and never settled before Im not settling now... They reluctantly agreed refunded my cash and 1700 later I got her back bu the decal and paint ship screwed me and never applied any clear coat...
-
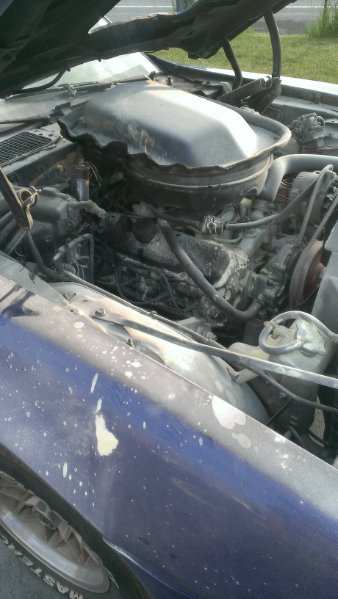
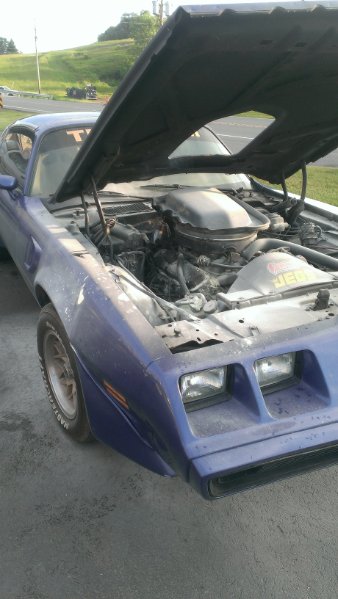
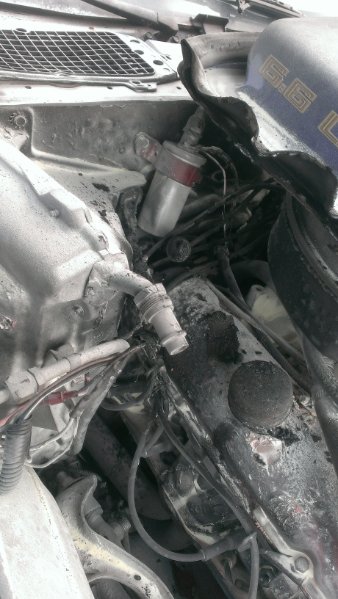
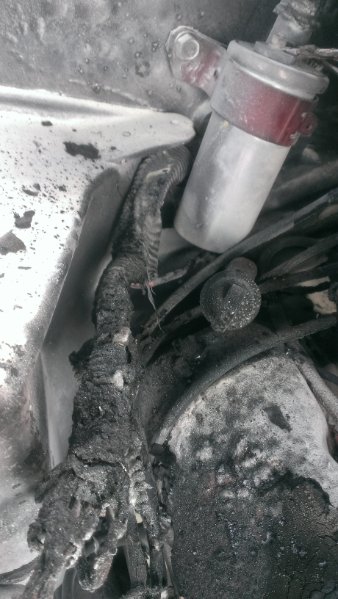
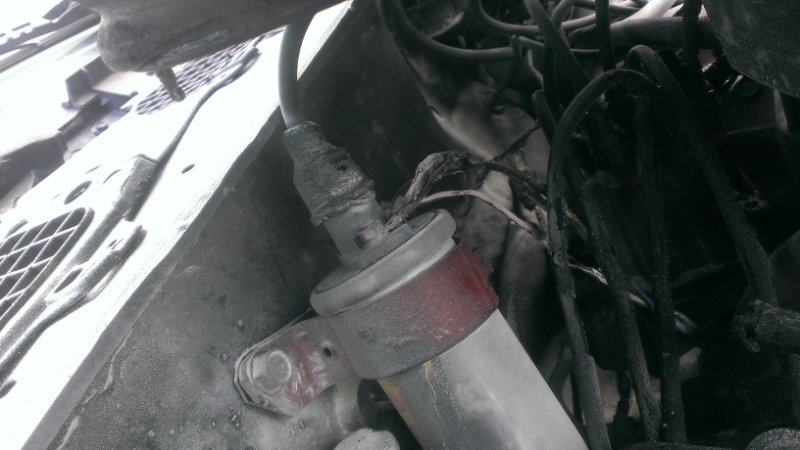
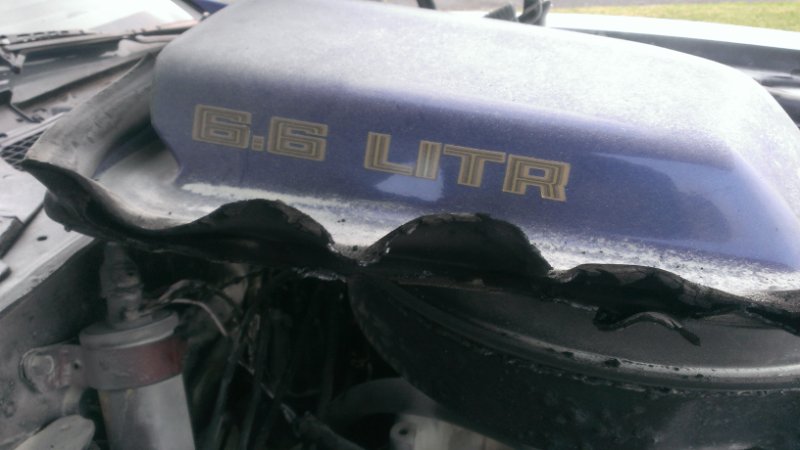
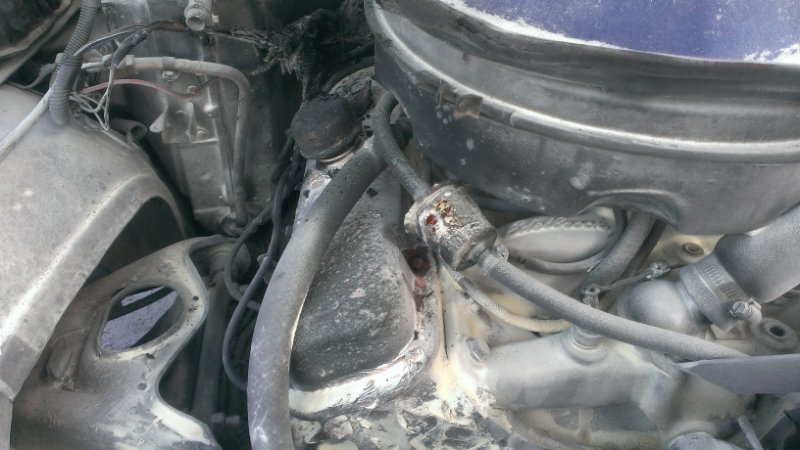
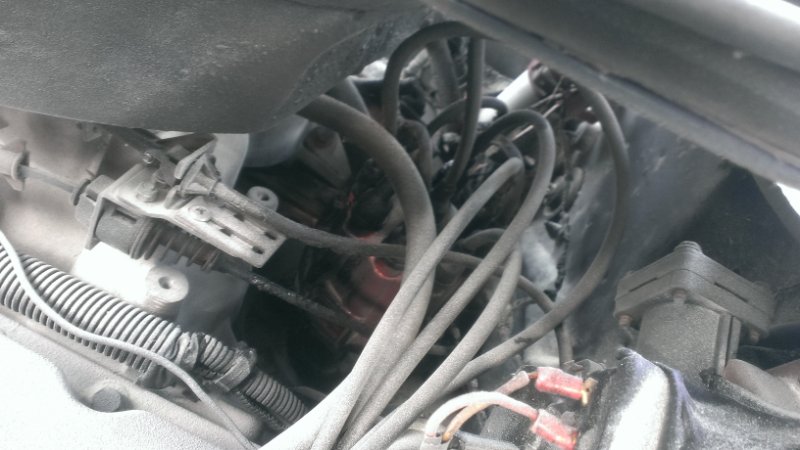
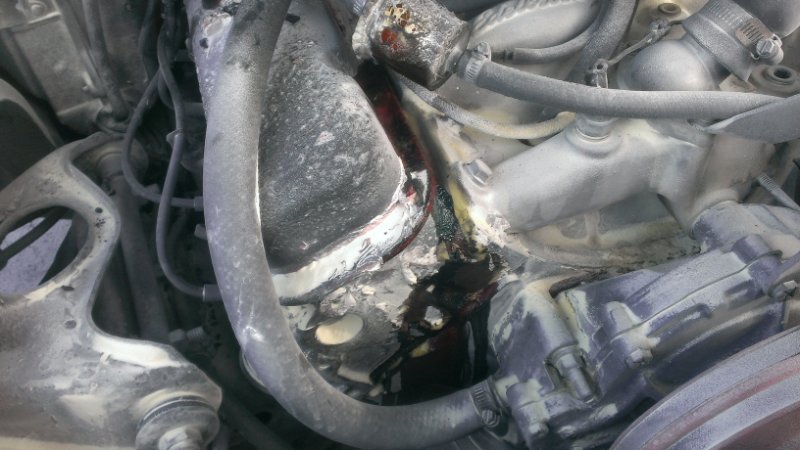
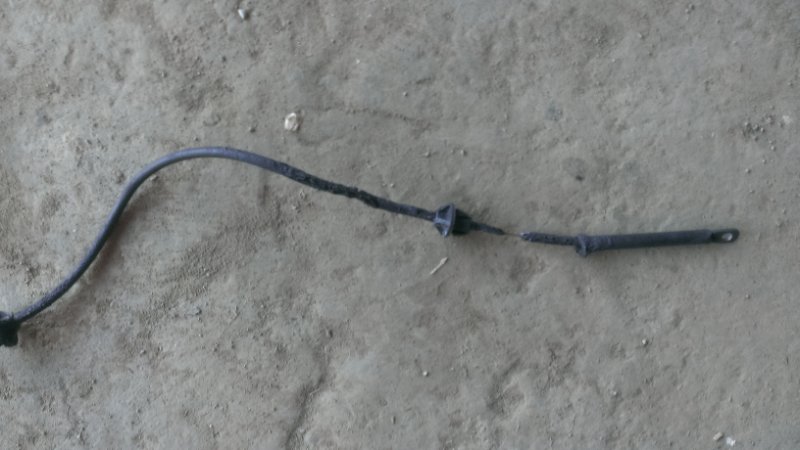
Smelled fuel didnt think much of it since my cars have always burned rich... had been idling approx 15 minutes while I was getting ready for work and little did I know the carb was leaking onto the intake... When I romped down as I left the motel it ripped to life and burned all the way until third gear then I let off I was already at 60 mph and I heard Pop and a flame went right up my windshield from my hood... Luckily I had a fire extinguisher close bye and was able to get it out in less than 1 and a half minutes... it was exactly the day after Fathers day... 🙂
-
Then two days later while I was waiting for the seats and all the added interior parts I wanted would arrive My car burst into flames... The culprit was the new re manufactured Eldlebrock carb...
-
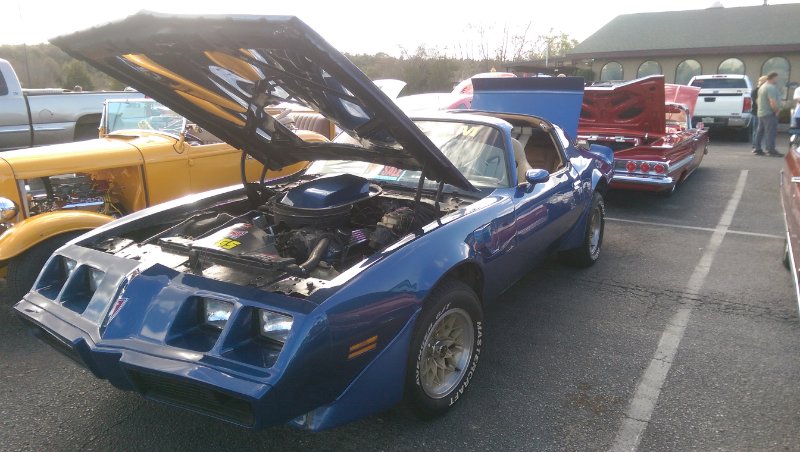
For the time being It seemed to work... SO I focused on the interior mods for a brief spell... 🙂 at least the car would move and not sound like it was going to rattle a bearing loose...
-
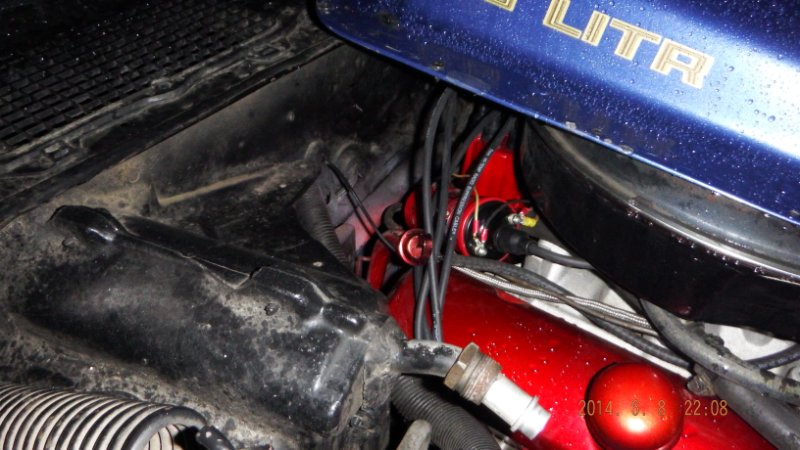
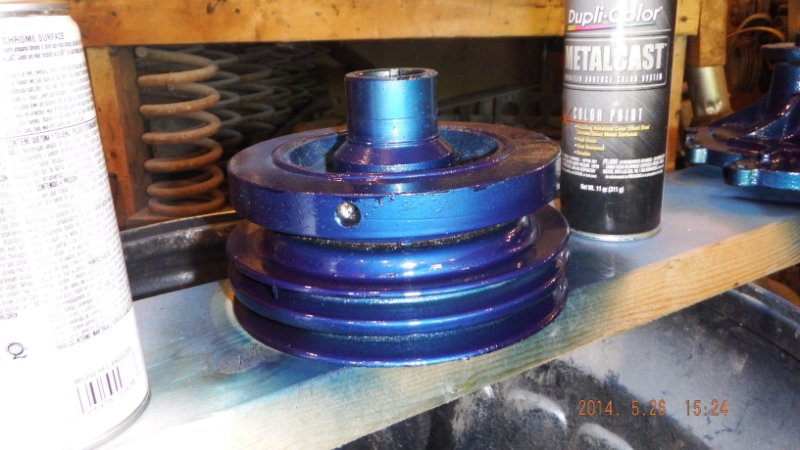
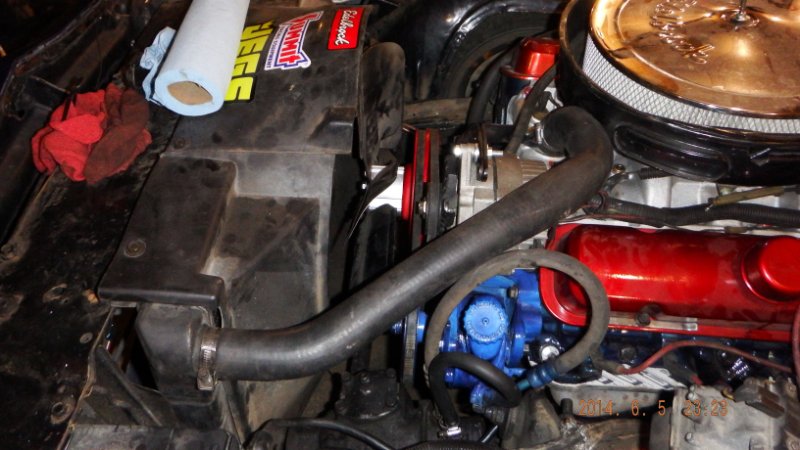
Then I decided I didnt like the Black and Red so Much so I changed it and named it Mighty Mouse...
-
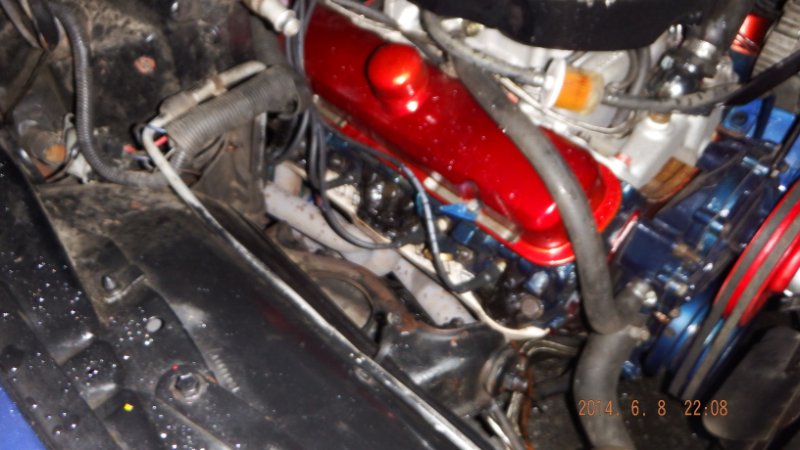
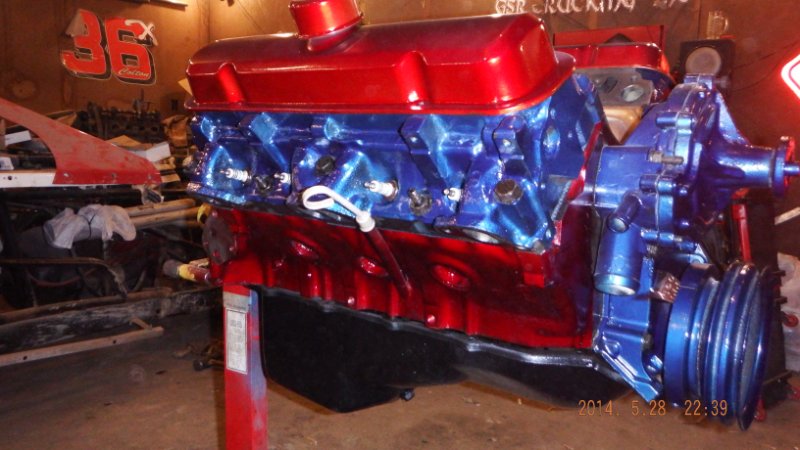
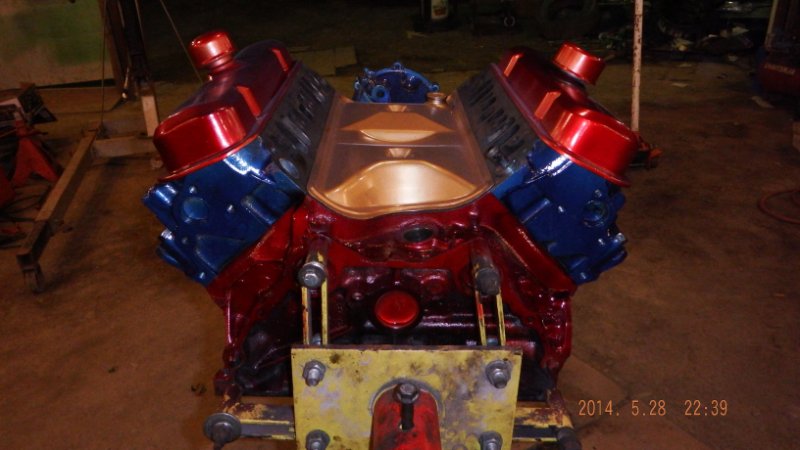
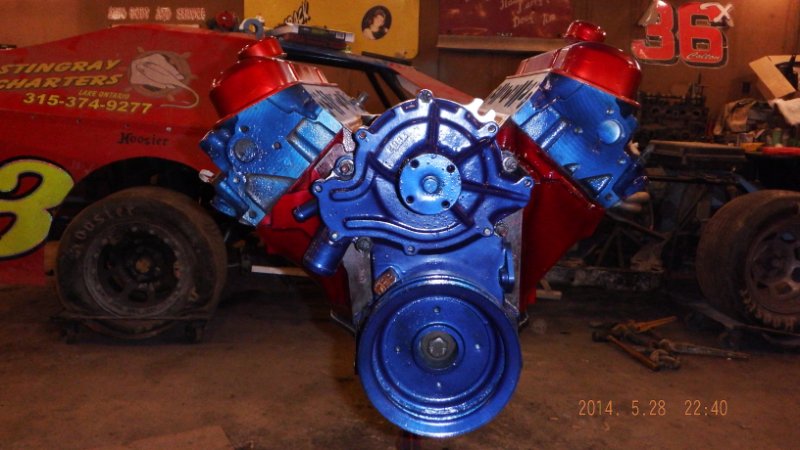
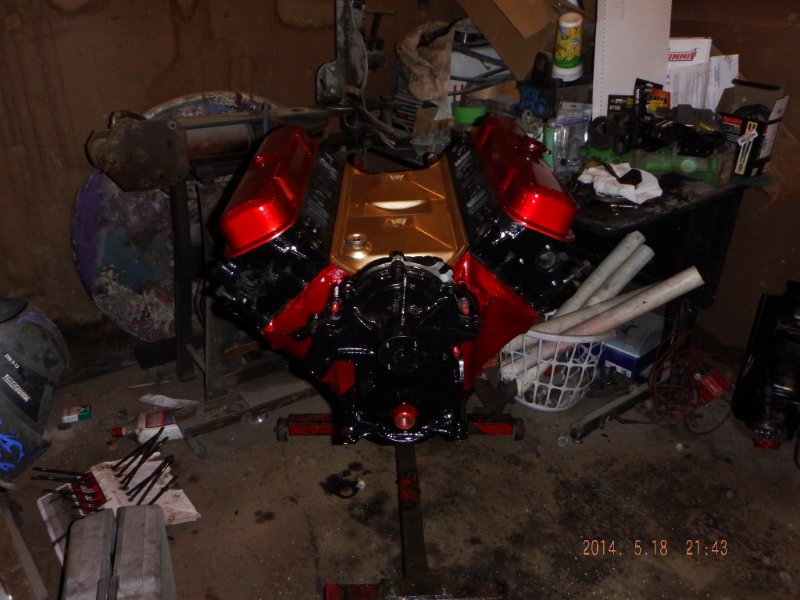
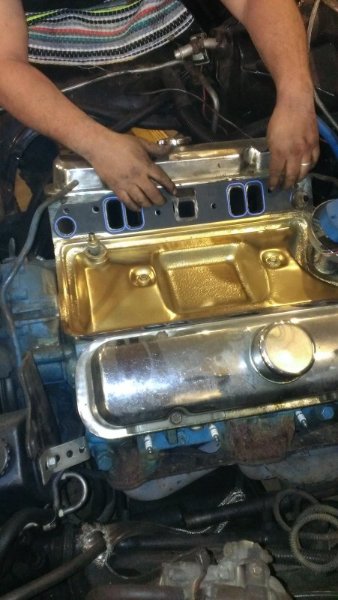
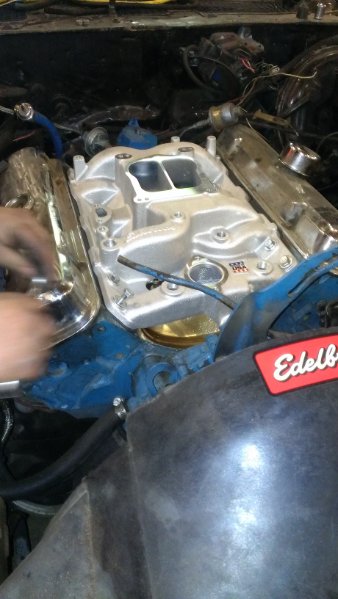
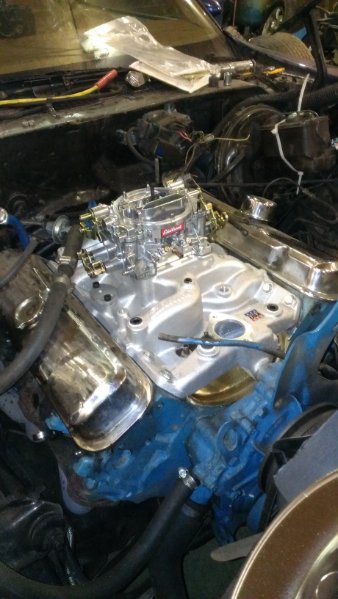
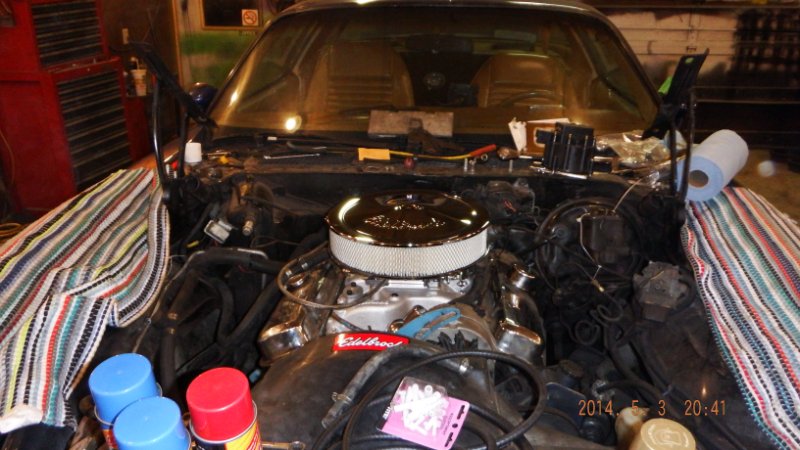
Then I cleaned and prepped and painted and assembled and we go the heads worked because thats what ya do then I had to buy another one so instead I bought two 4X 🙂 Off a 68 Tempest... HO Heads...
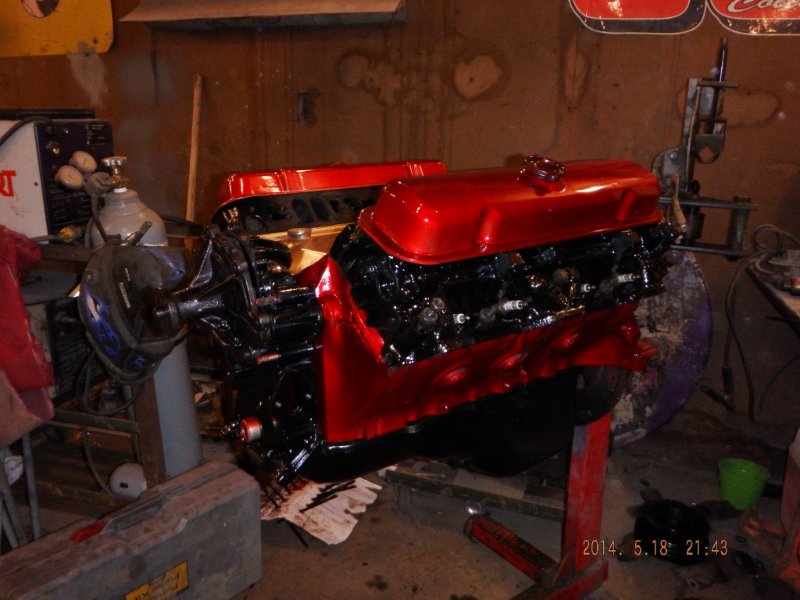
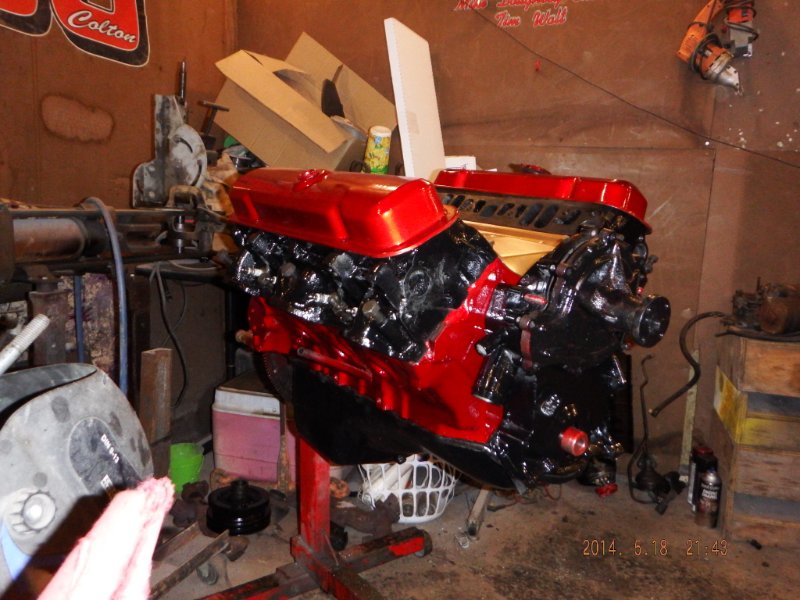
-
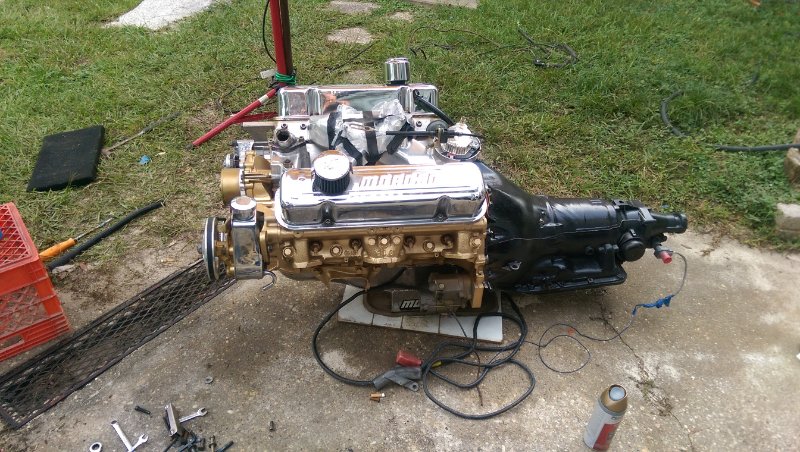
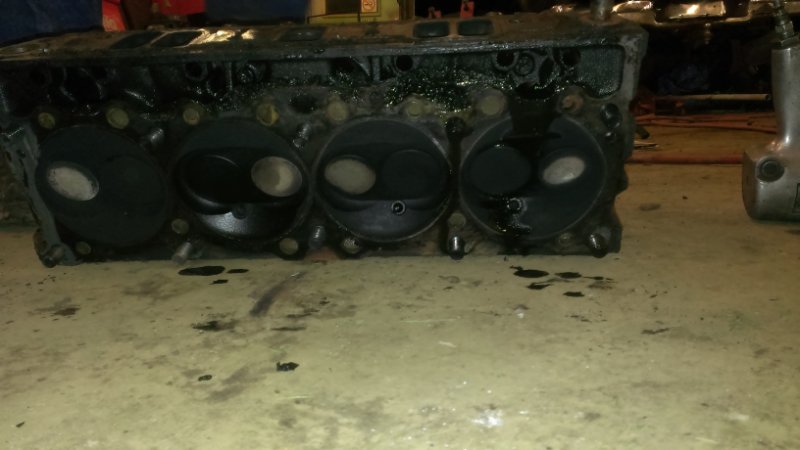
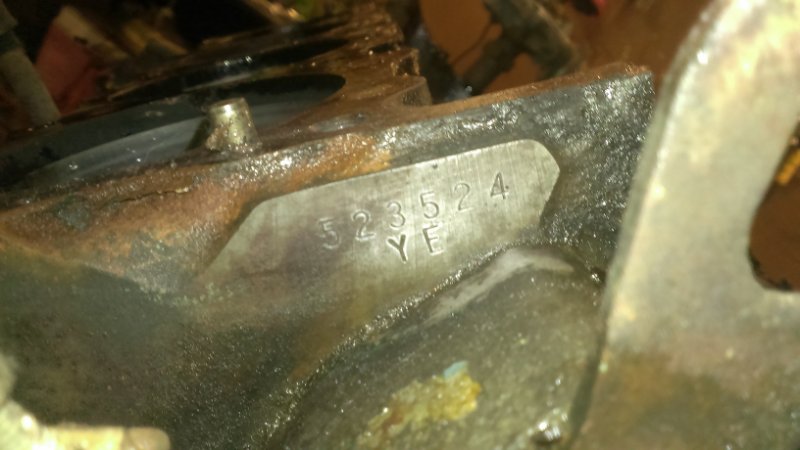
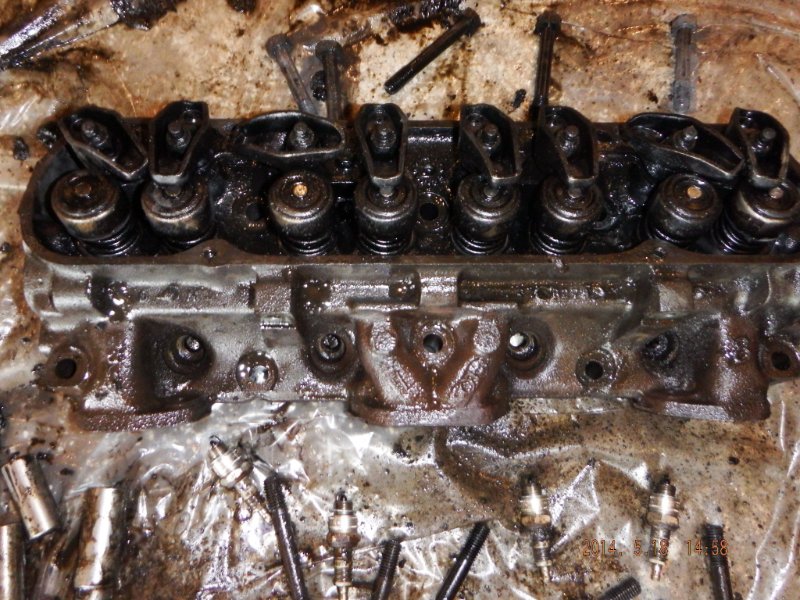
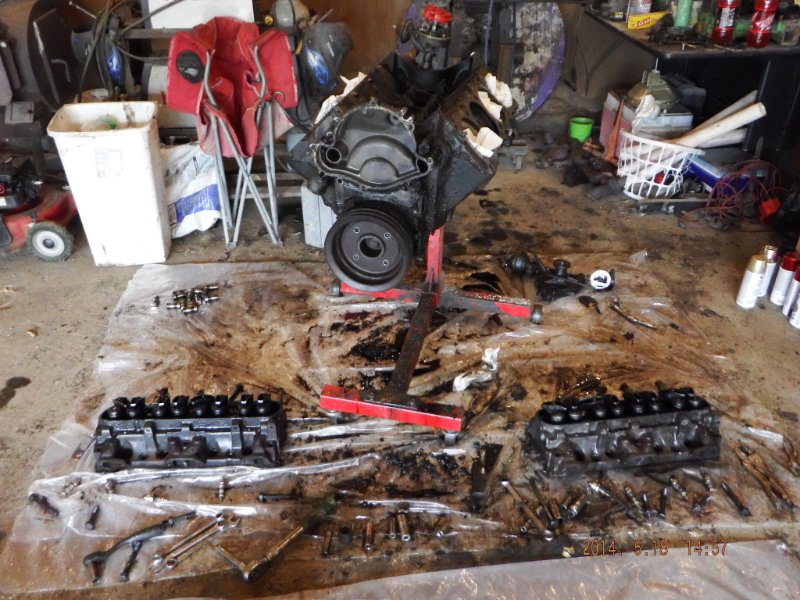
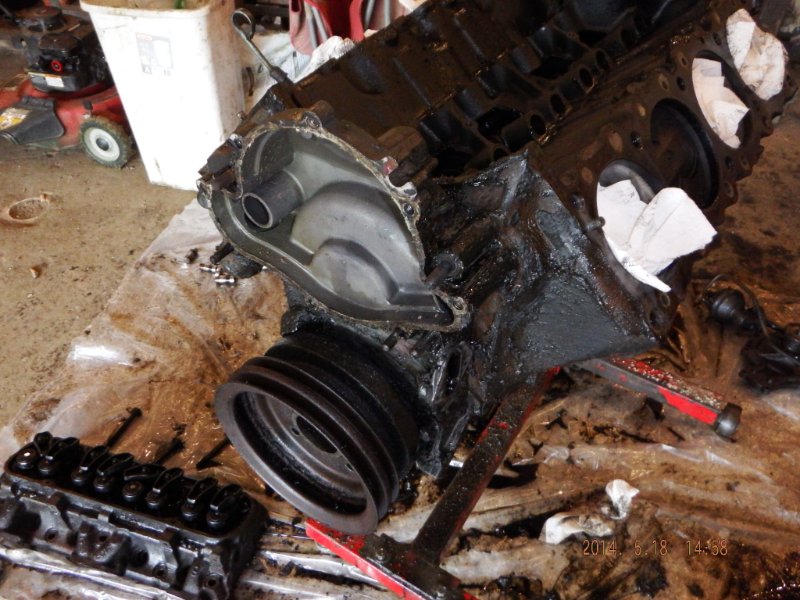
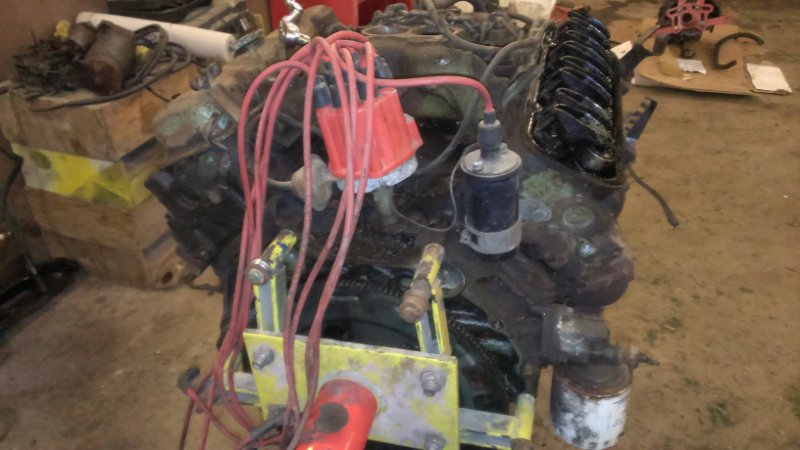
So the dismemberment of the engine... And the years of grim and grease melted off... 🙂 took me a week... Np particular order... here... you get the idea...
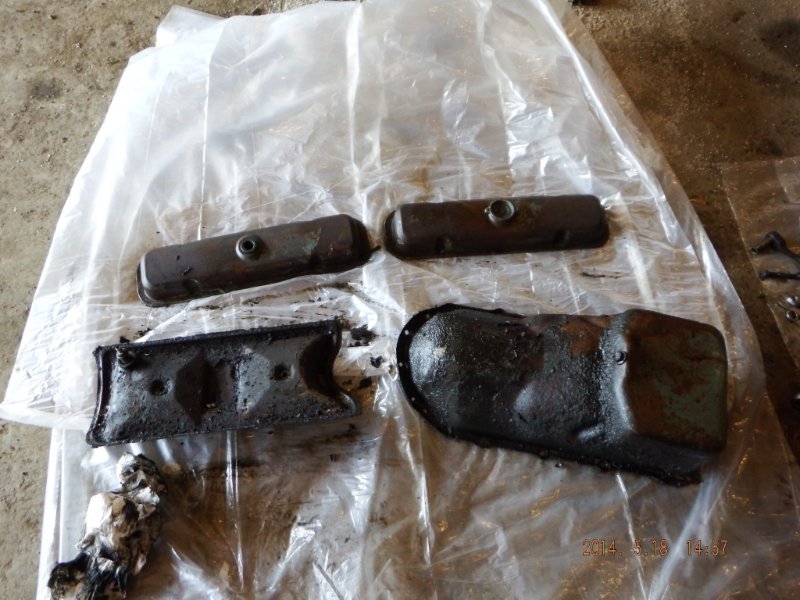
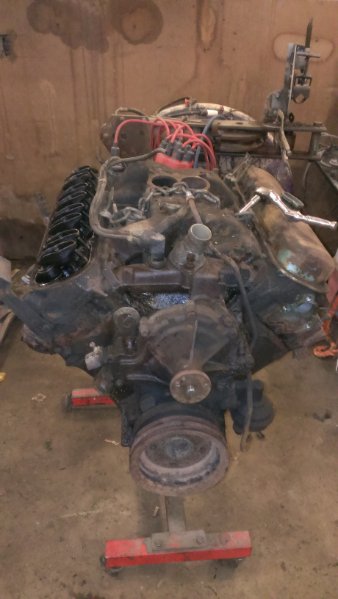
-
So I buy this Beauty right here... a 1968 400 From a Pontiac Catalina lol It ran fired right up so I figured why not sounded like a beast...
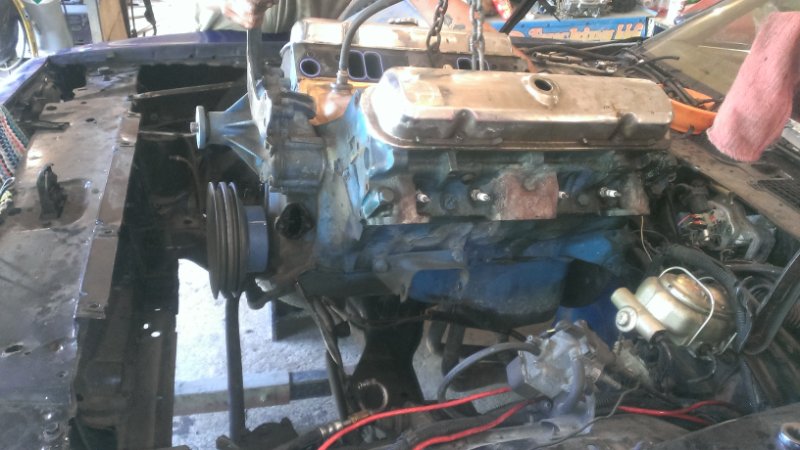
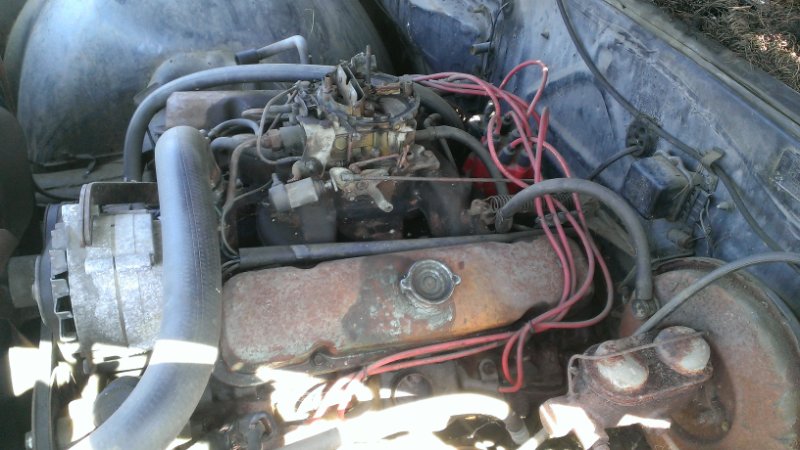
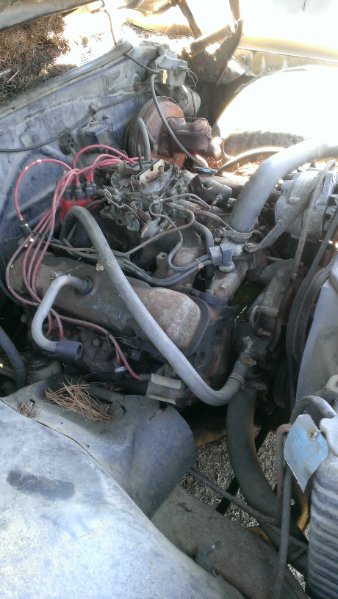
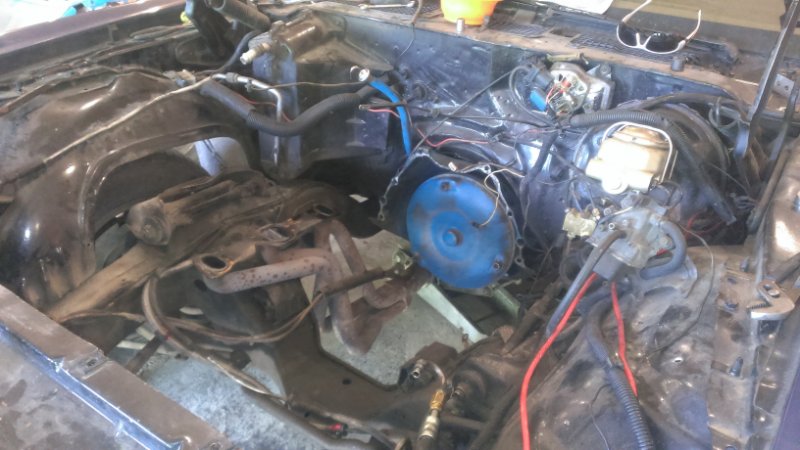
-
I got the car fixed up all special starting to be like back in my day... And I could hear a grinding in the bottom end... I figured it was only a matter of time now before the bearings seized up or spun...I figured better to fix it not broken than blow it...and do more damage so I went and bought this...I know your gonna say damn... In PA when you buy an engine at a junk yard... you pay for CI so a 350 is 350 a 455 is 455 bucks I know sounds weird so anyhow here is my 400 - 400 Pontiac... why not an olds when they turn up quicker? Because CI to CI a Pontiac produces more Engine Torque than other engines Hand down...:) thats why... So a reminder thats the first engine I got before I did anything except dress it up then started hearing a rattle just before it shifted into the next gear...
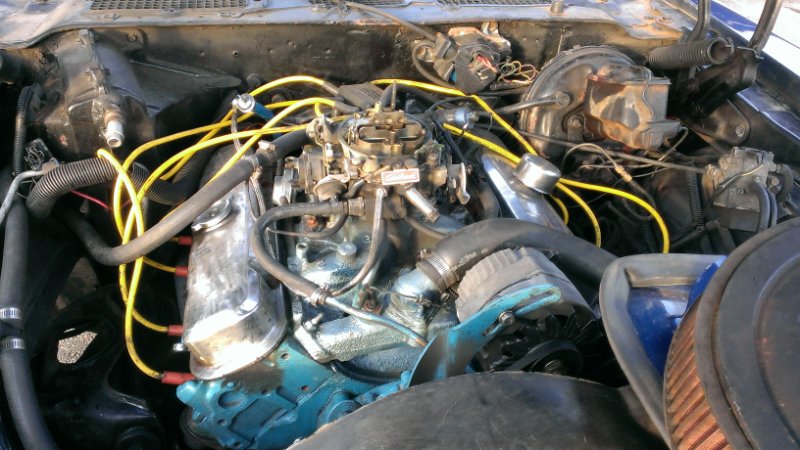
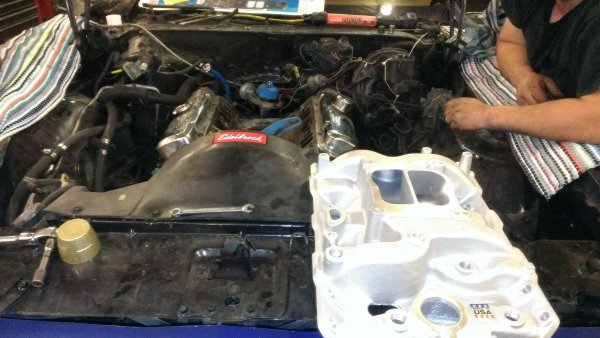
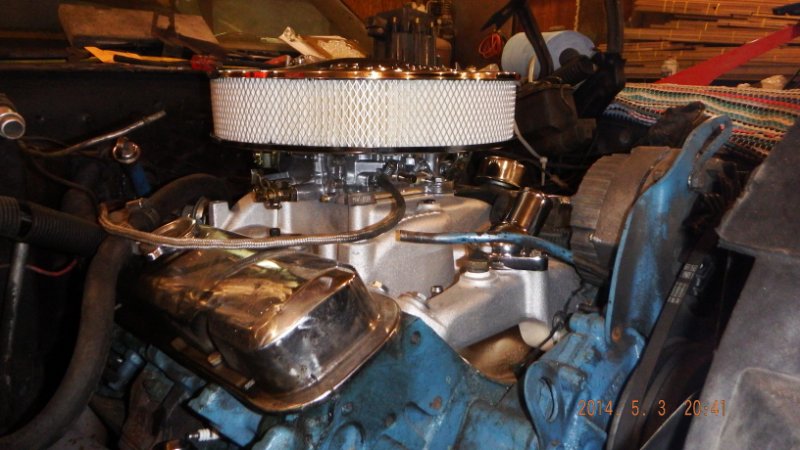
-
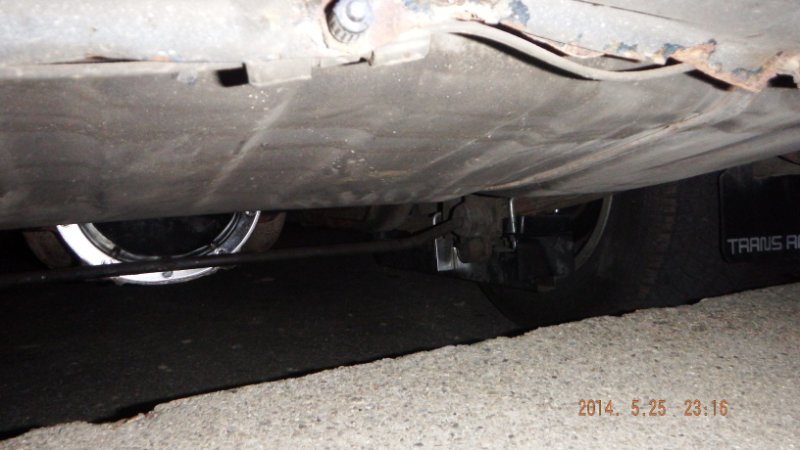
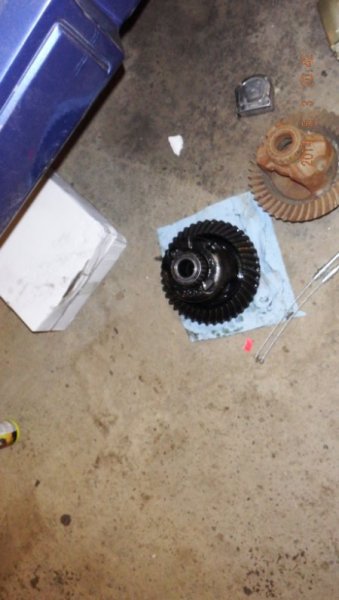
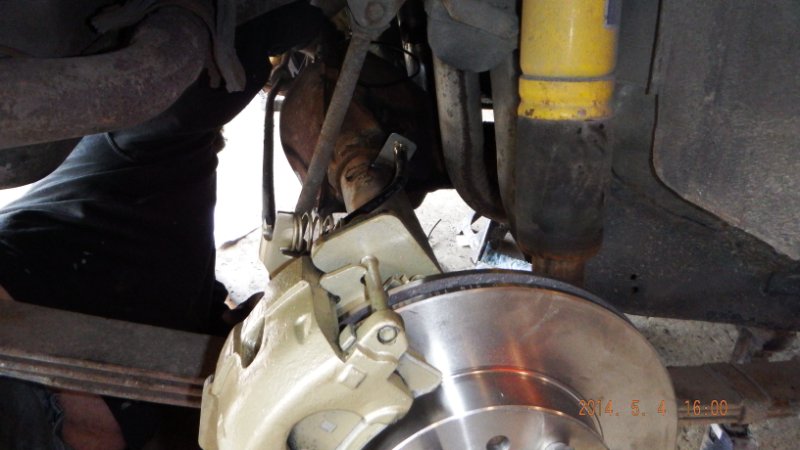
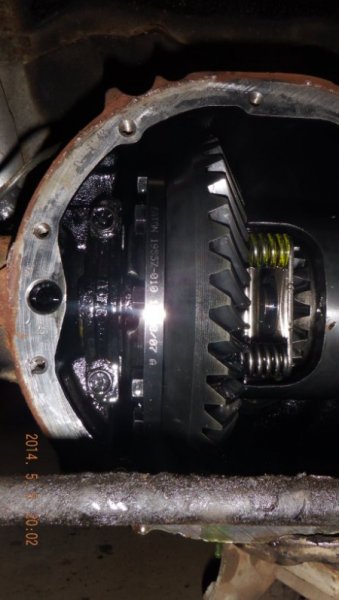
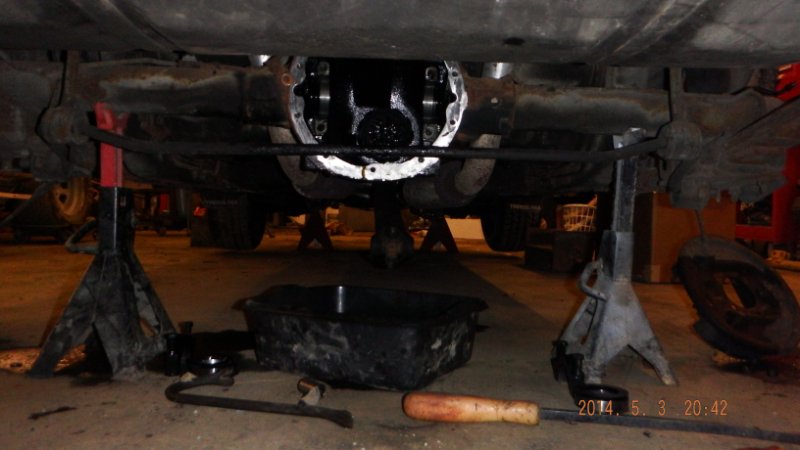
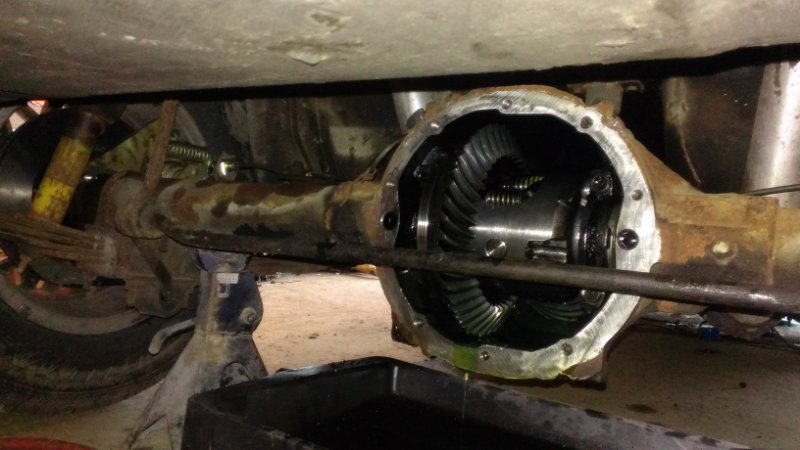
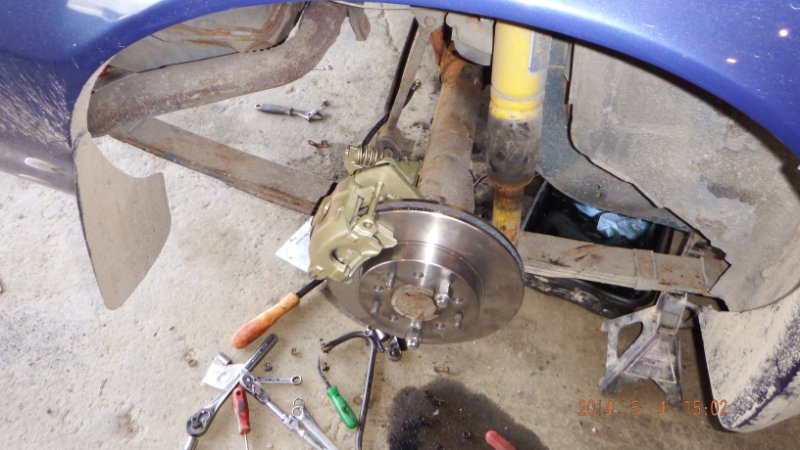
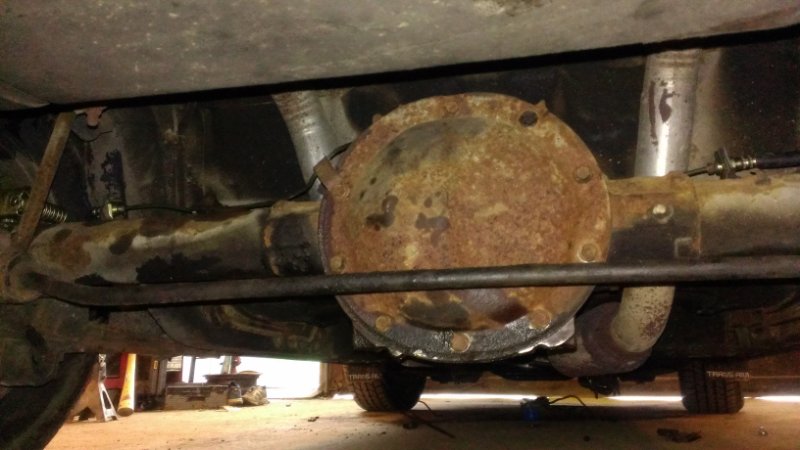
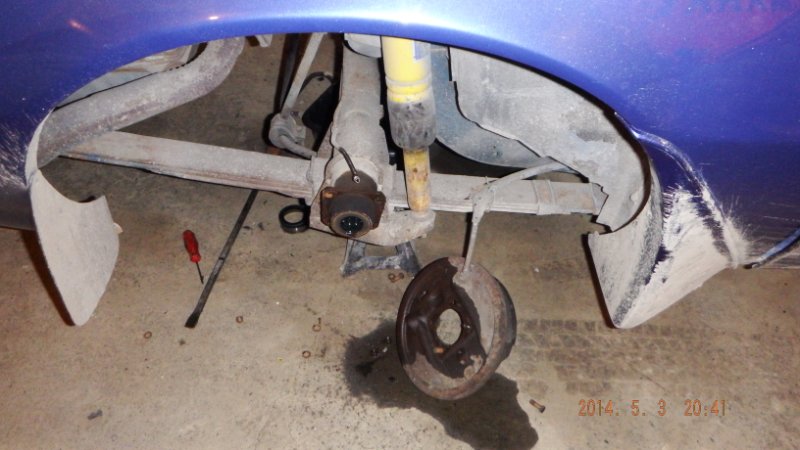
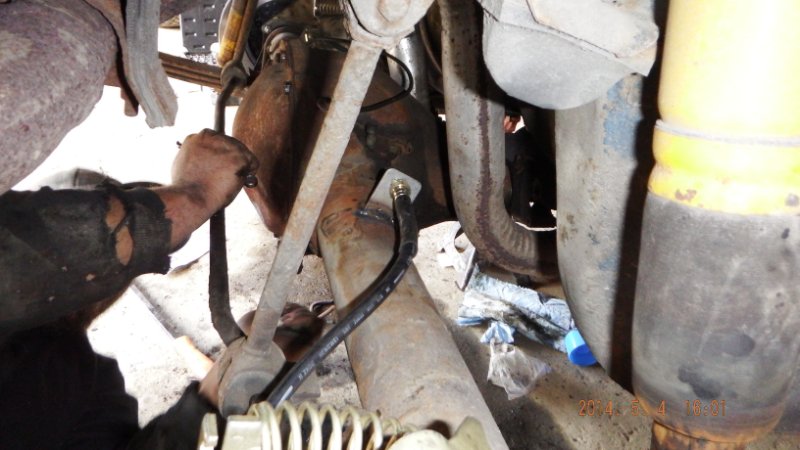
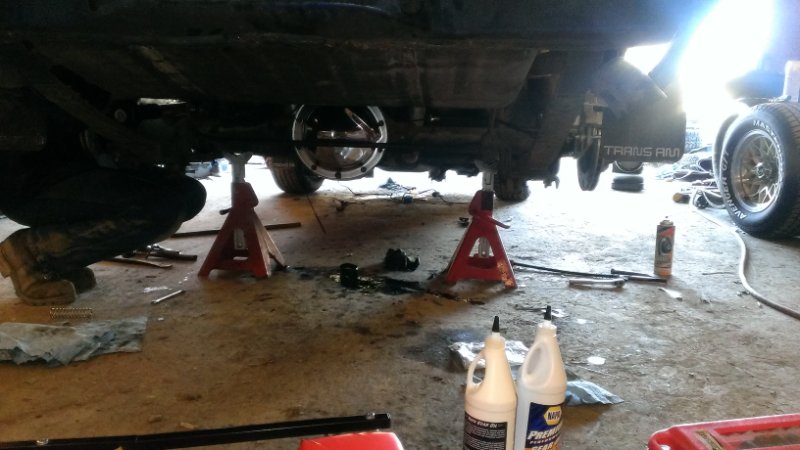
Well I think so... Went from drum to Disk set up...Bought the kit and installed the kit... Meanwhile changed from factory 3:73 Gears stupid way to high down to 2:73 much better for top end use... 🙂 Added Pumpkin cover Chrome difference of day and night...lol Zero Shims Also... 🙂
-
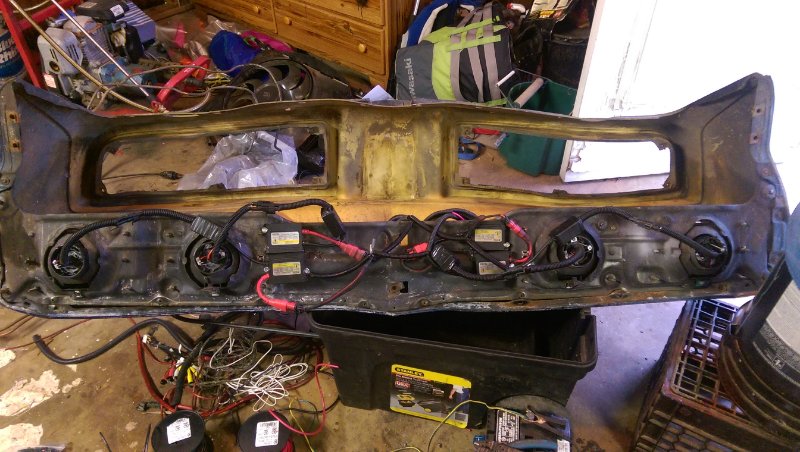
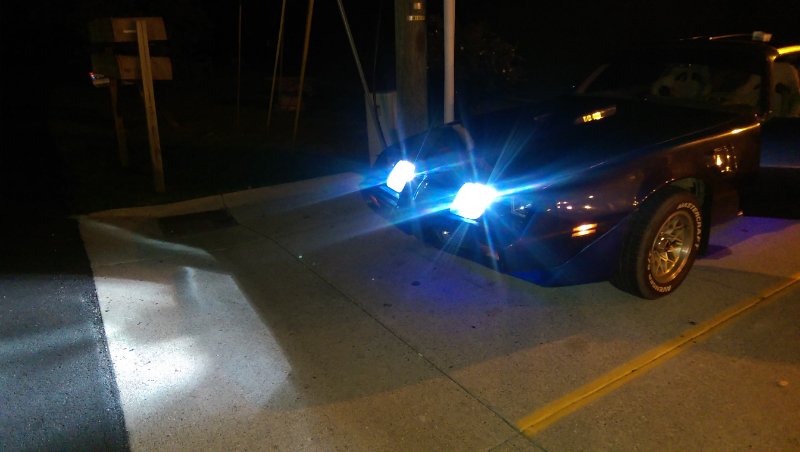
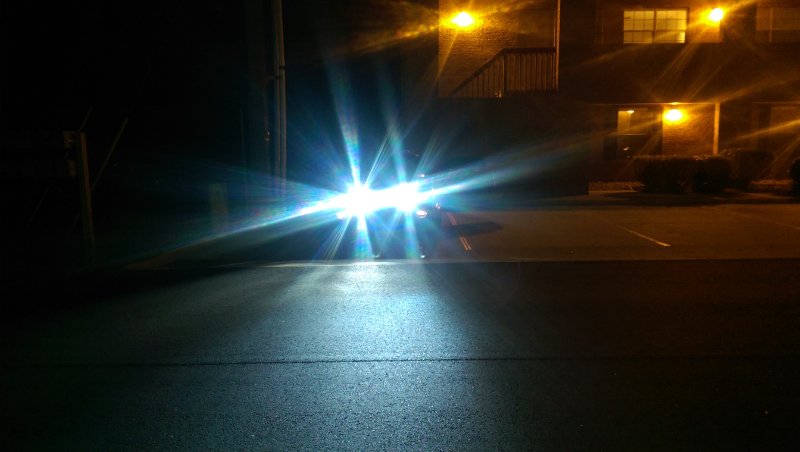
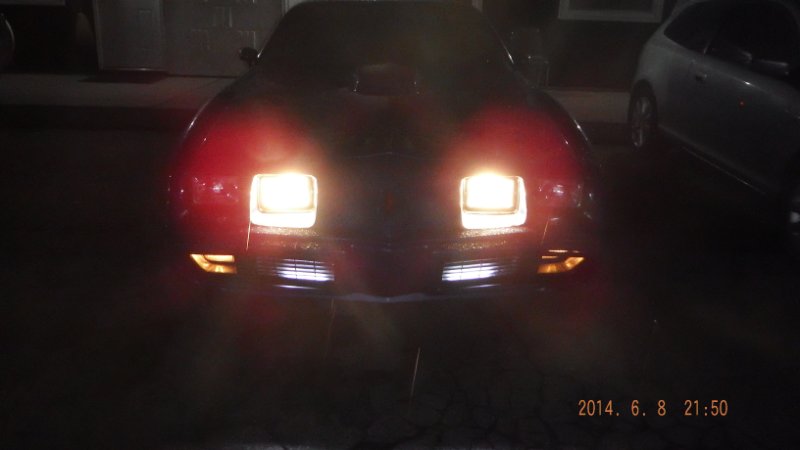
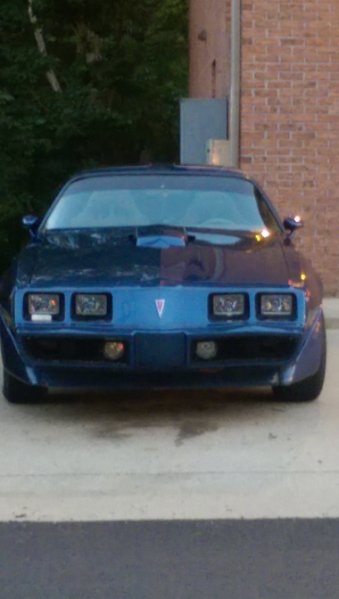
Ok the pic above is how crappy it used to look... see how low beams are close together now ? The last pic was before I installed the LED lights...
-
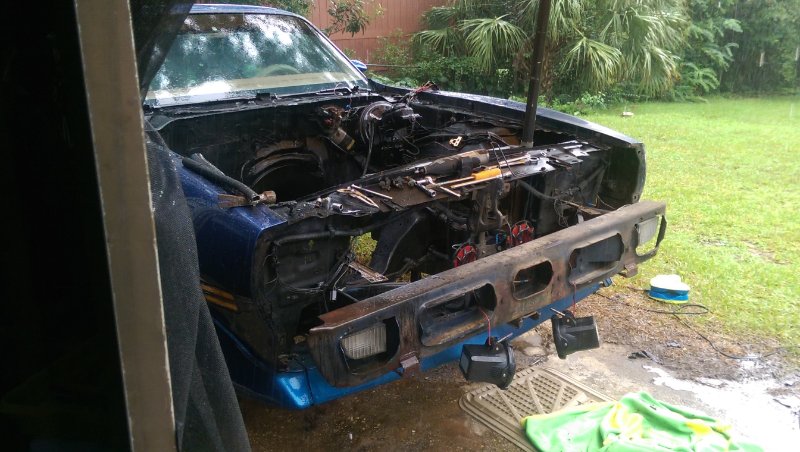
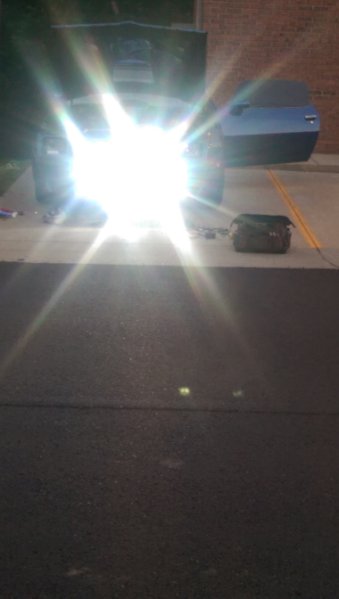
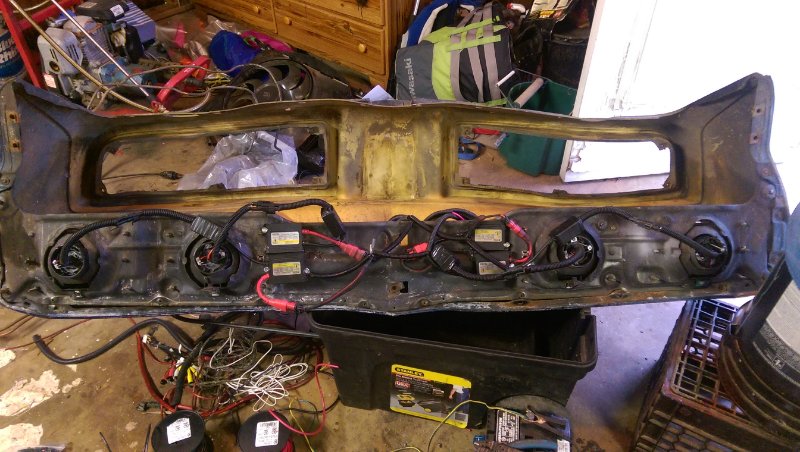
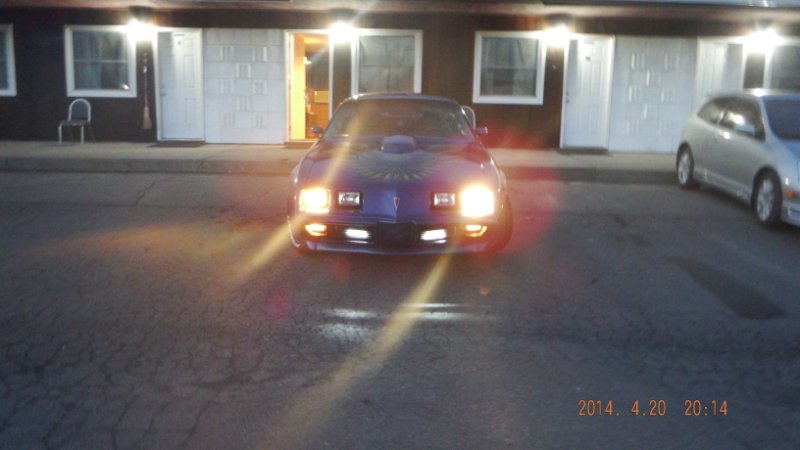
The two absolute Brightest Bulbs I ever saw hot too but man brighter than all four headlights at the same time... 2~4" Quartz Cubes... Everyone said dont cut the Honeycomb out at the bottom... I was like watch this hold my beer...they wont look right round floods with squares up top Oh yea... say that again? Then I figured I may as well wire in the new headlights LEDs and all... I also reverse the High beam and low beams so the low beams are inside close to the center of the nose and the high beams when turned on are the outer bulbs and lenses... for this unique look more like a vette in the dark than a TA...
-
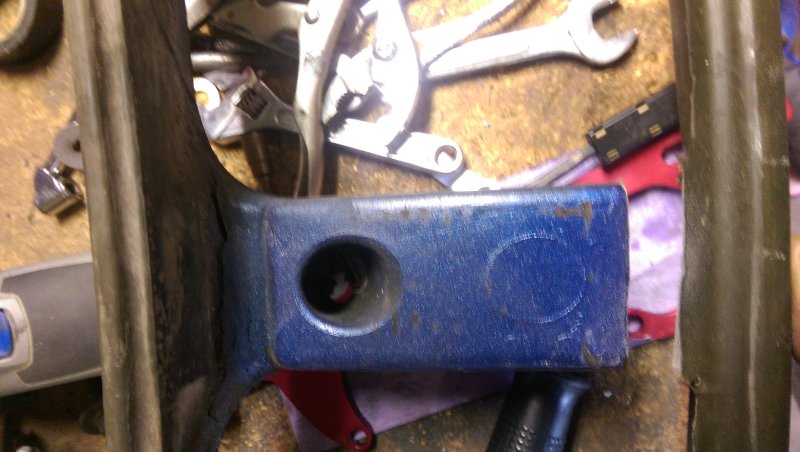
I ended up having to cut the rubber stoppers in half since they were too long...